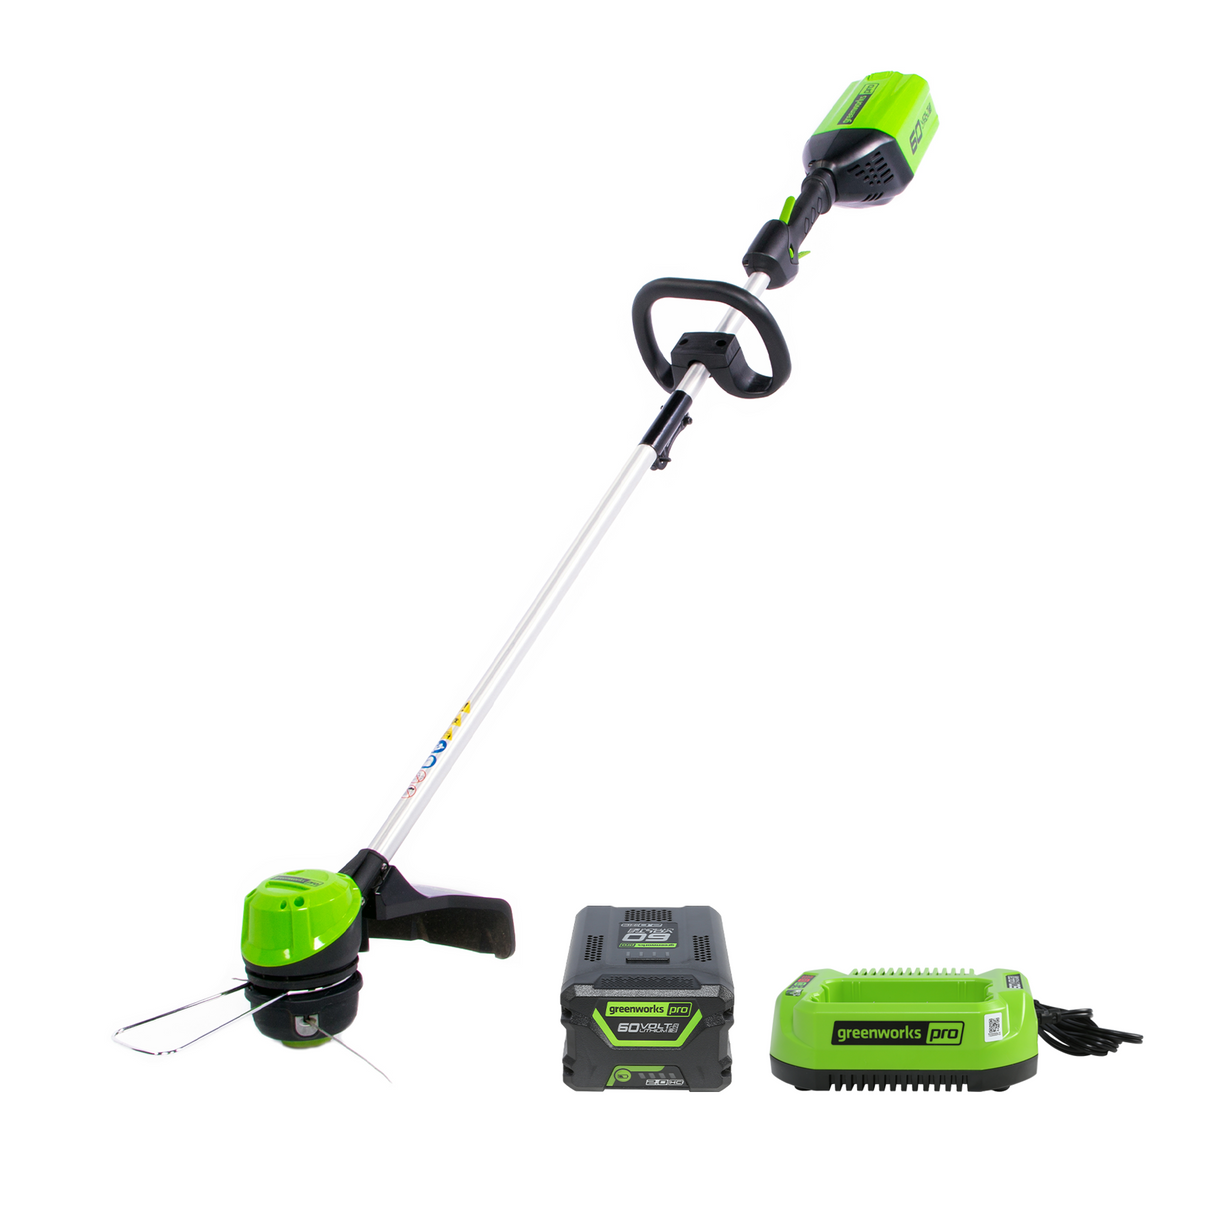
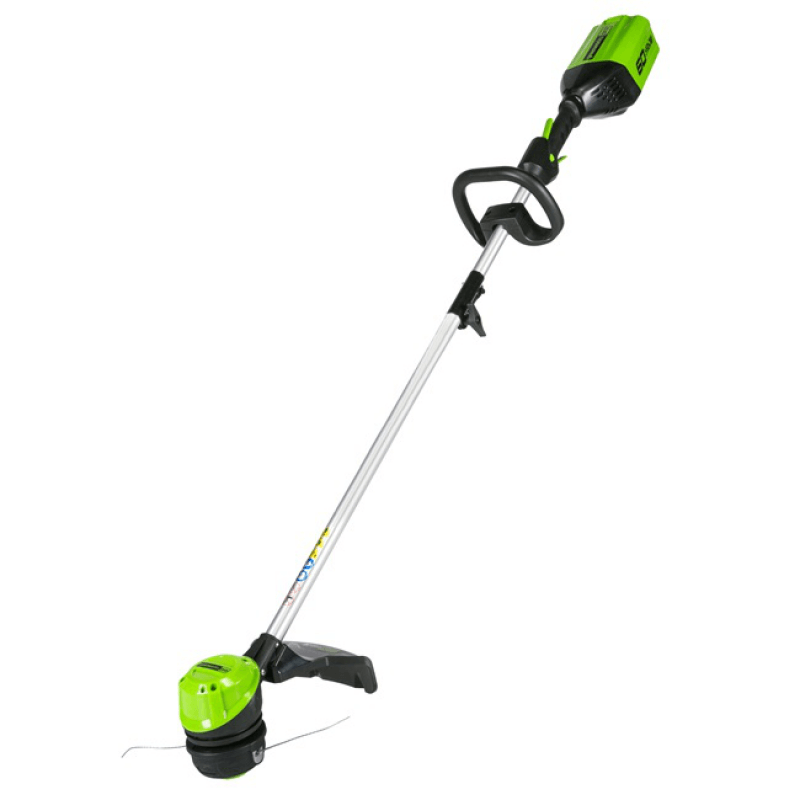
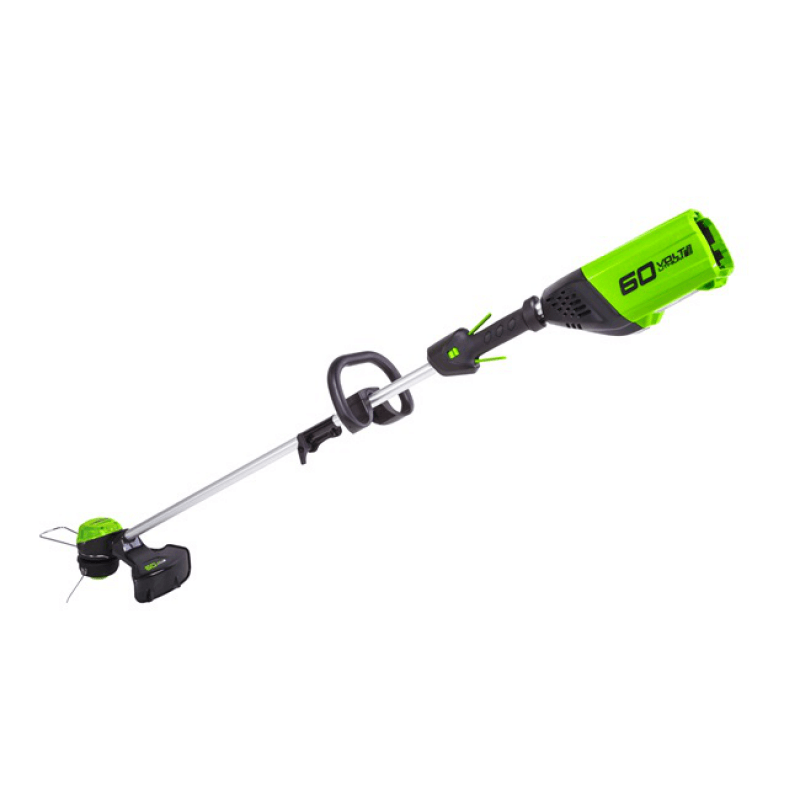
60V 13" String Trimmer, 2.0Ah Battery and Charger Included
60V 13" String Trimmer, 2.0Ah Battery and Charger Included is backordered and will ship as soon as it is back in stock.
Available At:
Key Features
Key Features
- ✓Push Button Start - For easier start up.
- ✓Bump & Feed
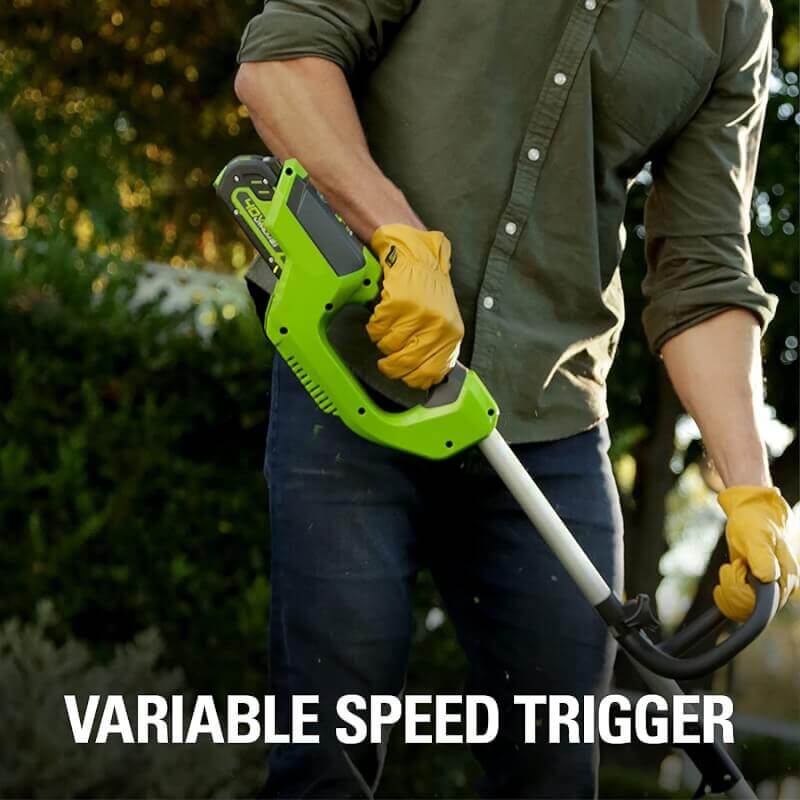
- ✓Variable Speed
- ✓Dual Line
- ✓Lightweight - For comfort, control, and less fatigue – 20% lighter than comparable gas-powered models.
- ✓Quiet Operation - Allows you to work during early mornings or late evenings without disturbing your neighbours.
Warranty
Warranty

Compatible With :
Description
Description
Welcome to a Life. Powered. by Greenworks. For homeowners who want the benefits of going cordless for everyday yard work but also want the confidence to take on occasionally challenging, tougher projects, the Greenworks Pro 60V family of tools are the ideal choice. Designed with medium/heavy-duty construction and materials, high-efficiency motors plus a universal 60V battery system that works across multiple products means you've got gas-equivalent power for your typical Saturday chores. Start with a tool kit, then add tool only equipment. This weed trimmer can be used with all Greenworks 60V battery models! Trim like a pro with the Greenworks 60V 13" String Trimmer, 2.0Ah Battery and Charger Included. This cordless grass trimmer features a 13-inch cutting path, bump feed head and multiple speeds. Plus, all Greenworks Pro 60V tools include a 4 Year Limited Tool & Battery Warranty to ensure your investment is protected.
- PERFORMANCE High and low speed settings with responsive variable speed trigger for on-demand power up to 7400 RPM; providing greater control when you need it most.
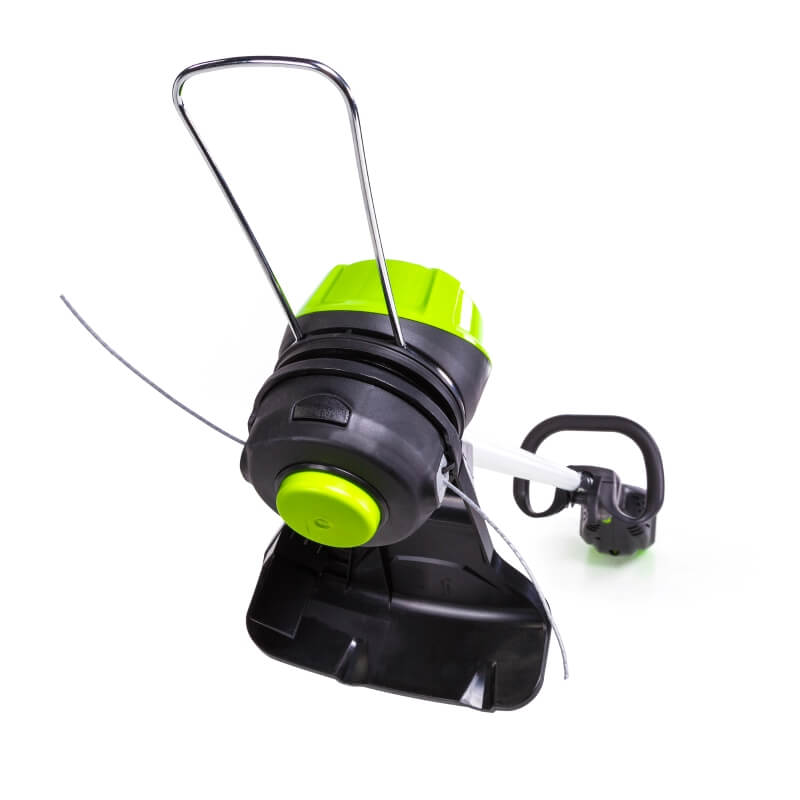
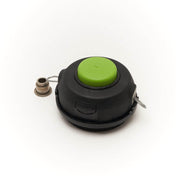
- BUMP FEED Adjustable 11 to 13-inch cutting path gets the job done fast plus the easy to use 0.080" dual line bump feed trimmer head allows you to lengthen the line on demand.
- DURABLE High-quality aluminum shaft to ensure long-lasting durability.
- LIGHTWEIGHT Lightweight design, along with superior ergonomics and an adjustable handle allow for reduced user fatigue and ultimate comfort during big jobs.
- INCLUDES String trimmer, 2.0 Ah battery, standard charger and owner's manual.
Specifications
Specifications
-
Voltage60V
-
Weight10.7 lbs.
-
Charge Time for 2.0 Ah BatteryUp to 60 Minutes
-
Battery Ampere-Hours2.0 Ah
-
Battery IndicatorPower Display on Battery
-
Charger IncludedGen - II Rapid 3A Charger
-
Rated Power of Motor0.6 kW
-
No Load Speed(s)6400 / 7400 (±10%) RPM
-
Speed SwitchHigh/ Low
-
Line Feed?Bump
-
Single or Dual Line Feed?Dual
-
Trimmer Line Diameter.080"
-
Cutting Swath (Inches)11" /13"
-
Telescoping Shaft?No
-
Attachment Capable?No
-
Rotating Edger Head?No
-
Estimated Assembly Time≈15 minutes
-
Warranty4-Year Warranty
-
Specifications for 60V 2.0Ah Lithium-ion Battery
-
Voltage60V
-
Amp Hours2Ah
-
Weight3.08 lbs.
-
Size3.5" × 5.7" × 7.7"
-
Watt Hours120
-
Charge Time to 100%from 60 mins
-
Diagnostic LED indicatorYes
-
Warranty4-Year Warranty
-
Specifications for 60V Flat Charger - CAC801
-
Voltage60V
-
Weight1.98 lbs.
-
Size6.1" × 3.6" × 8.1"
-
Diagnostic LED indicatorYes
-
Charge Time (2.0 AH Battery)40 min
-
Charge Time (2.5 AH Battery)50 min
-
Charge Time (4.0 AH Battery)80 min
-
Charge Time (5.0 AH Battery)100 min
-
Warranty4-Year Warranty
Manuals
Manuals
Frequently Asked Questions
Frequently Asked Questions
- What is the difference between auto-feed and bump and feed string trimmers?
- What attachments are compatible with my string trimmer?
- Why does my trimmer line keep breaking during use?
- Can I remove the guard from my string trimmer?
- Why does my line keep unraveling?
- What does reduced gear mean for my string trimmer?
- Does my unit come with trimmer line?
- Can I use a thicker diameter line than what is recommended?
- Can I buy replacement line locally?
- Can I change the original trimmer head?
- Can I leave my battery in the charger after charging it?
- Why do batteries cost so much more than the tool?
- How do I store the battery? Can I leave the battery in the garage or shed?
- My battery is stuck in my tool. How do I get it out?
- How do I check the charge on my battery?
- Can I use any Greenworks battery in any Greenworks tool?
- Are there certain tools that can’t accept all same voltage batteries?
- Do all batteries of the same voltage use the same charger?
- Does battery temperature matter?
- The charger indicates that my battery is fully charged but I was just using it and it depleted. Why isn’t it charging?
- My charger is flashing red when I engage my battery. Why is this happening?
- My charger has a solid red light on it when I engage my battery. What is happening?
- Are your chargers made for 220V or 120V outlets?
Auto-feed string trimmers use centrifugal force to release trimmer line. Each time the unit is activated, the spinning of the trimmer head exerts a force that unlocks the trimmer spool, allowing line to be released. A spring-loaded mechanism relocks the line after approximately 0.25” of line has been release. Therefore, every trigger pull will release line. Bump feed/ bump and feed string trimmers work with a similar mechanism, but the spool lock is manual disengaged by the user by “bumping” the trimmer head on the ground while the unit is in use. This mechanism provides operators with more control over how much line is used.
For attachment capable string trimmers, the following brands are compatible: Poulan Pro, Ryobi-Expand-it and Trimmer plus. If you are unsure if you have an attachment capable string trimmer unit, please contact us at 1-888-90-WORKS
Trimmer line will break off during use which is a normal occurrence. In harsher terrain or when used to edge, the string trimmer's line will break off more often as it makes contact with hard surfaces. To reduce line breakage here are some tips: • Keep the underside of the trimmer head/guard area clean of debris. • Ensure that the cutting blade is clean/clear, and the blade is exposed and shard enough to trim the line. This will also help to reduce excessive line breakage. • Avoid direct contact with hard surface areas when using the string trimmer. • In thicker, denser, and longer grass, you may want to go slower. Listen to the sound of the string trimmer, if it reduces speeds, or slows down too much, back away from the grass and start again at a slower pace.
No, string trimmers should never be operated without a guard. The guard is a safety feature and helps reduce debris such as grass clippings from being picked up and flung towards the user. It also has a cutting bar on it to prevent line from overextending and breaking off at large lengths. Operating without a guard will cause the string trimmer to work harder than it must and will reduce the life span of the motor. It will also void the warranty.
Line unraveling can be caused by winding the spool line the wrong way or simply not winding it tight enough. Please make sure you follow the guide inside your owner’s manual thoroughly as this process may take some time to correctly achieve.
A string trimmer that has a reduced gear motor does not directly drive the trimmer head. Instead, the motor drives a larger gear that is attached to the trimmer head. This reduces the speed of rotation but increases the torque. It allows a smaller, lighter motor to produce extra torque and perform tasks more efficiently, while ensuring that the unit is easy to maneuver.
Yes, all Greenworks string trimmers come with spool and line that has already been installed in your unit.
No, we do not advise using a thicker diameter line than what is advised in your owner’s manual. The use of a thicker line may result in over working the motor and could potentially damage the motor resulting in shorter life span of the unit. This will also void your warranty.
Yes, you can use any generic brand of trimmer line to rewind your existing spool. Please refer to your owner’s manual to ensure you purchase the correct diameter of line for your unit.
No, we do not offer this feature currently. However, we do offer attachment capable string trimmer units that can be used with a variety of different attachments from the following brands: Poulan Pro, Ryobi Expand-It and Trimmer Plus.
The battery chargers do have auto cut offs to prevent it from over charging. However, we do advise customers to remove the battery from the charger after it has been fully charged and to also unplug the charger from the outlet, as this is good electrical safety practice to do so. This will also help to prevent false defect readings and allows the charger to reset itself each time it’s used to charge a battery.
The battery is the most important component for a battery-operated unit. Please be assured we price our batteries with the cost of material, manufacturing, and current market pricing in mind. Batteries are the costliest items to manufacture and ship in any kit. Full kits including a tool, battery, and charger are priced affordably so that consumers can begin building that line of tools and move forward purchasing tool-only units. When you purchase batteries on their own, it is more notable the cost that they carry.
When the battery is not in use, we suggest storing it indoors, in a cool dry area - away from direct sunlight. Leave the charger unplugged and the battery disconnected from the charger unless it needs charging. It is recommended to store the battery with a full charge, and if it is being stored for a period where no use is expected, to check on the charge every couple of months. If you notice the charge has dropped, we advise charging the battery back up to full before returning it to its safe storage place. Following these steps will ensure you receive the most out of the battery life.
60V/ 80V Products: To remove the battery, push and hold the battery release button. Then, pull the battery pack straight out. In some cases, if the springs underneath have gotten locked down you might have to give a small push to the top of the battery to re-engage them to help the battery pop up. The battery pack fits snugly into the product to prevent accidental dislodging while in use; it may require a strong pull to remove. Before use, be sure that the rails on the battery and product are free of debris that could cause the battery to get stuck. 24V/ 40V Products: To remove the battery, press the latch button on the battery pack down and hold. Pull the battery pack out of the handle. The battery pack fits snugly into the product to prevent accidental dislodging while in use; it may require a strong pull to remove. Before use, be sure that the rails on the battery and product are free of debris that could cause the battery to get stuck.
Press the battery capacity indicator (BCI) button located at the end of the battery. The lights will illuminate according to the battery capacity level. Please note this switch does require a firm direct push using the tip of your finger. If the button is not being fully engaged, the lights will not activate. Please also be advised the lights only stay on for a few seconds and will automatically turn off. Another reason the lights will not power on is if the battery is completely depleted of power and needs to be charged.
Our batteries are interchangeable with tools that are of the same voltage platform only. The difference between batteries of the same voltage is the ampere-hour (Ah) rating. The higher the ampere-hour (Ah) rating on the battery is the more run time it has to offer.
There are a few exceptions. • Our 80V 20” snow thrower models 2600402 / 2605202 / 2601302 manufactured prior to September of 2017 can only use 2.0Ah or 2.5Ah battery models. • Our 60V 8.0Ah battery model 2957102 cannot be used in the following tools due to the height: dual-port lawnmowers, pressure washers, or the wet/dry vacuum.
Yes, they do. Each product line has designated charger models that can charge all batteries in that voltage platform, no matter the Ah rating.
The temperature of the battery prior to use should not be too warm or too cold. For snow throwers if the battery is too cold it may not be operatable. Allow the battery to get to room temperature prior to use. For our other tools allow the battery to cool down prior to use if it’s too warm. To avoid battery temperature issues, batteries should be stored indoors in a dry and cool location. Information on battery storage and temperature will in inside your owner’s manual.
Putting a battery that was just in use onto the charger often results in a false full charge signal. Remove the battery from the charger and allow it to rest in a room temperature area for approximately 10-15 minutes before charging.
When the battery is inserted into the charger and the status LED blinks red, remove the battery from the charger for 1 minute, then reinsert. If the status LED blinks green, then the battery is properly charging. If the status LED is still blinking red, remove the battery and unplug the charger for 1 minute. After 1 minute, plug in the charger and reinsert the battery. If the status LED blinks green, then the battery is properly charging. If the status LED is still blinking red, then this likely indicates an issue with the battery or charger and should be taken care of either with our warranty team or by means of replacement.
This typically indicates that the battery is at the wrong temperature to be charged. Allow the battery and charger to rest indoors at room temperature until they are no longer hot/cold and attempt charging again.
Greenworks chargers sold in the USA and Canada are designed for use on 120V outlets only.

