A step-by-step guide to a quick and easy, festive gnome, DIY project!
Un projet de bricolage étape par étape pour facilement fabriquer un gnome pour les fêtes!
Materials needed:
Matériaux requis :
- Wood ovals or circles for faces / Des ovales ou cercles en bois pour les visages
- Wood piece for mounting board / Morceau de bois pour la planche de montage
- Fabric squares / Carrés en tissus
- Yarn / Fil de type laine
- Pom-poms for nose / Des pompons pour le nez
- Greenery of your choice / Verdure de votre choix
- Glue / Colle
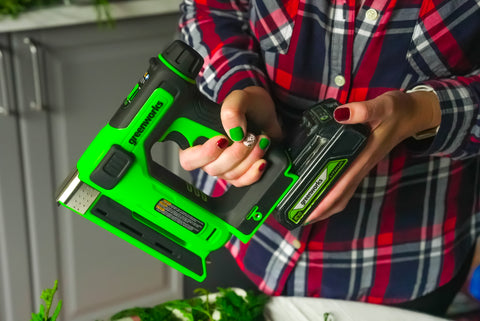
- Staple Gun and Staples / Agrafeuse et agrafes

(Optional) Battery powdered string lights
(Facultatif) Cordon de lumières à batteries.
Step 1: Gather and bunch the greenery on one of the round pieces. Staple in place.
Étape 1: Rassemblez la verdure en bouquet sur l’un des cercles en bois. Agrafer en place.

Step 2: Using the fabric squares, wrap around the greenery and round wooden pieces, gathering in the back. Fold pieces neatly and staple in place.
Étape 2 : Utilisez les carrés en tissus pour envelopper la verdure autour du cercle en bois et rassembler à l’arrière. Pliez soigneusement le tissus et agrafer en place


Step 3: With the yarn, tie the top of the fabric squares, creating a hat.
Étape 3 : Avec le fil, attachez le dessus des carrés en tissus afin de créer un chapeau.

Step 4: Glue on the pom-pom for the nose.
Étape 4: Collez un pompon pour le nez.

Step 5: Staple the round pieces, now gnome faces, to the larger wood mounting board.
Étape 5 : Agrafer les cercles en bois, maintenant les visages de gnomes, sur la planche de montage. 


Step 6: (Optional) Add string lights for added festive touch!
Étape 6 : (Facultatif) Ajoutez le cordon de lumières pour une ambiance festive.

Step 7: Hang and Enjoy!
Étape 7 : Accrochez et admirez!
