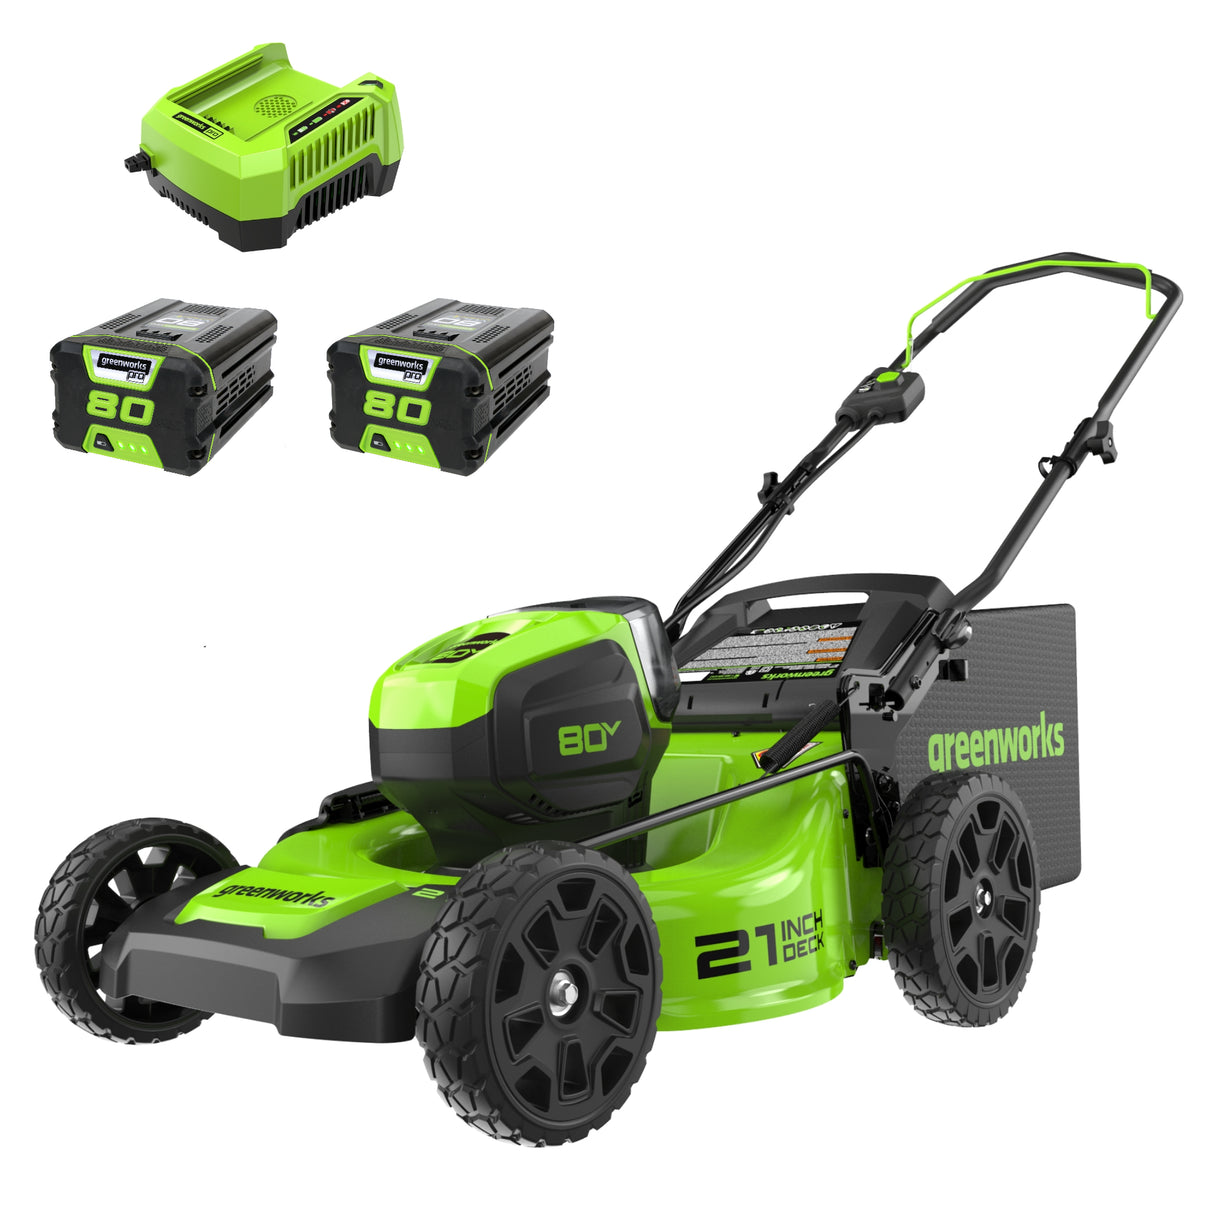
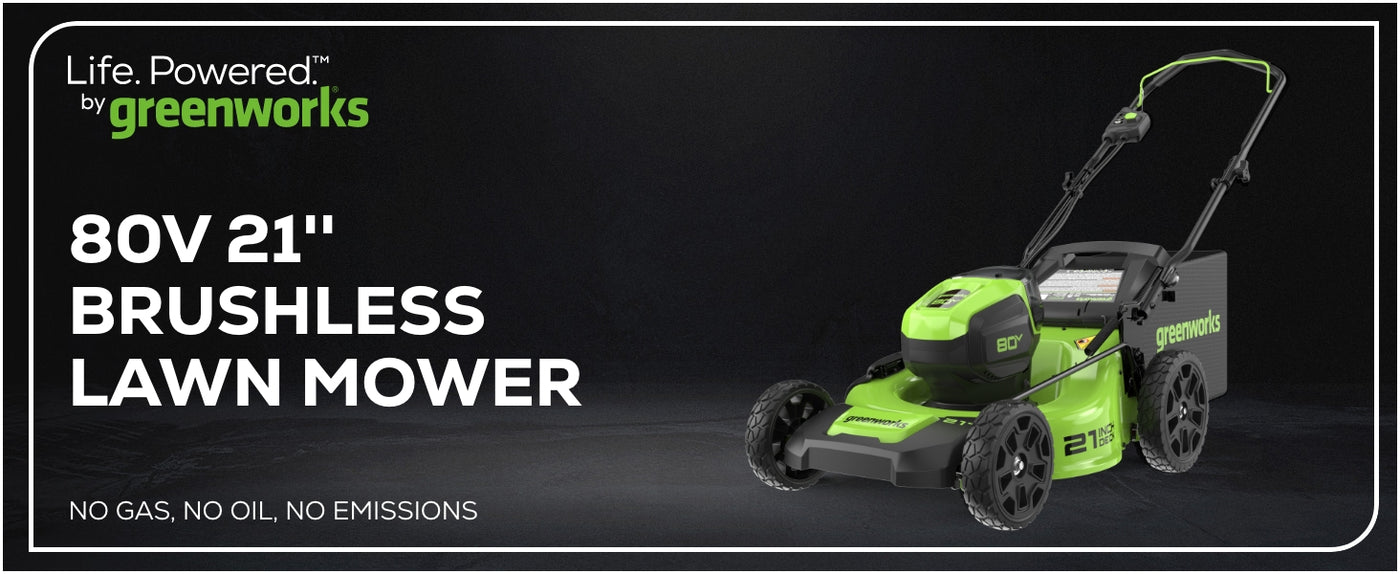
Tondeuse sans balais 80 V 21 pouces, (2) batteries 2,0 Ah et chargeur inclus – GLM801601
Principales caractéristiques
Principales caractéristiques
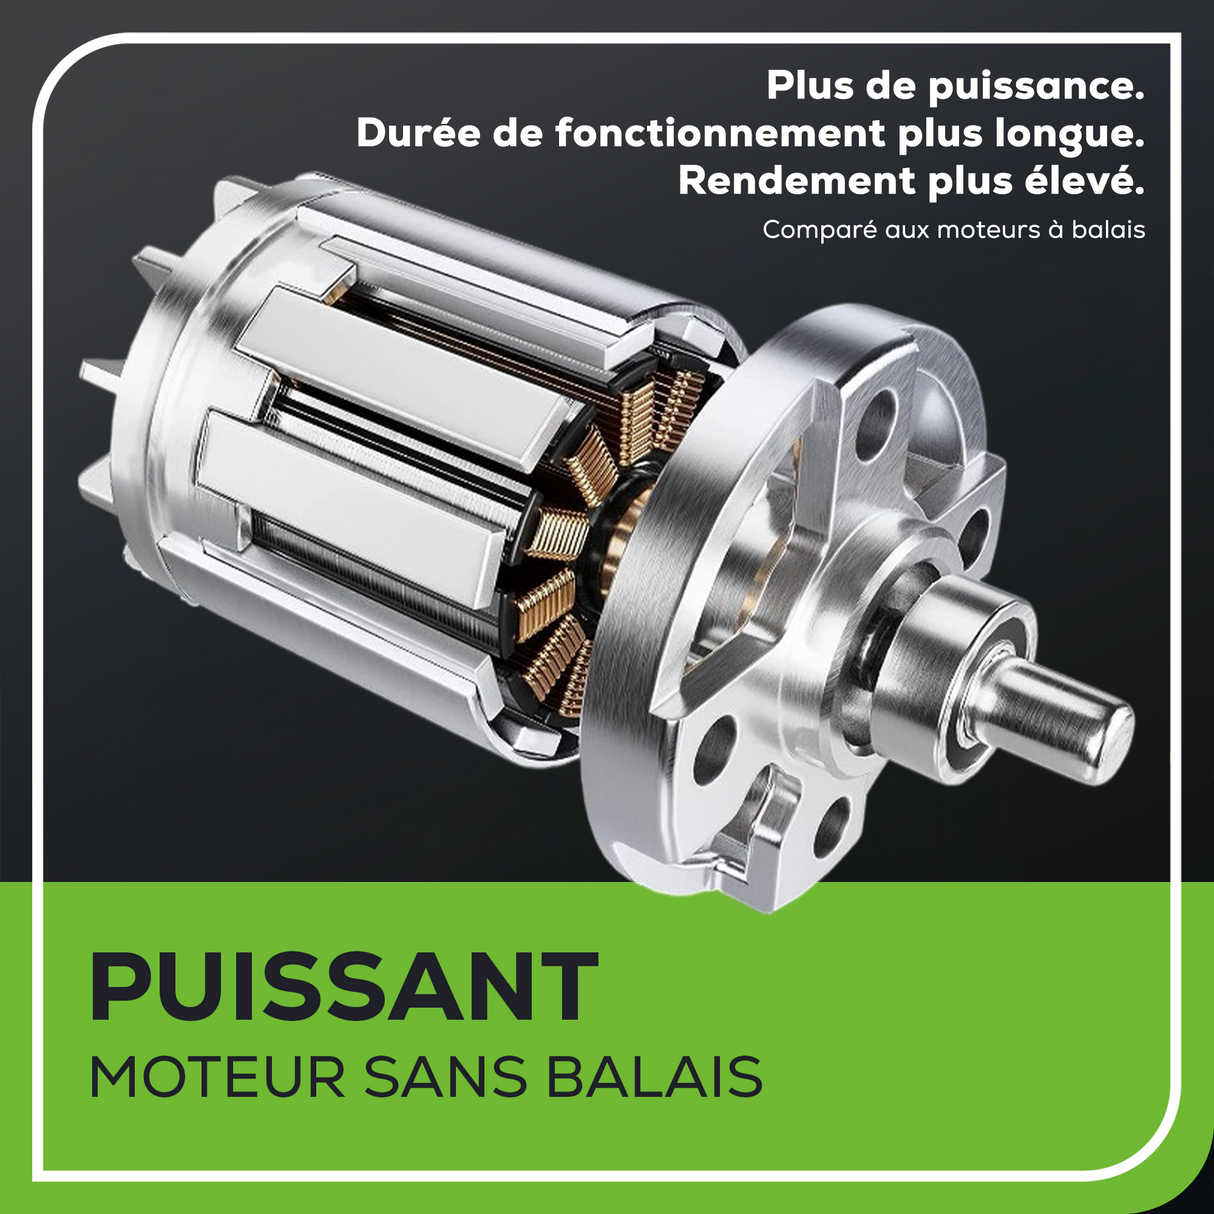
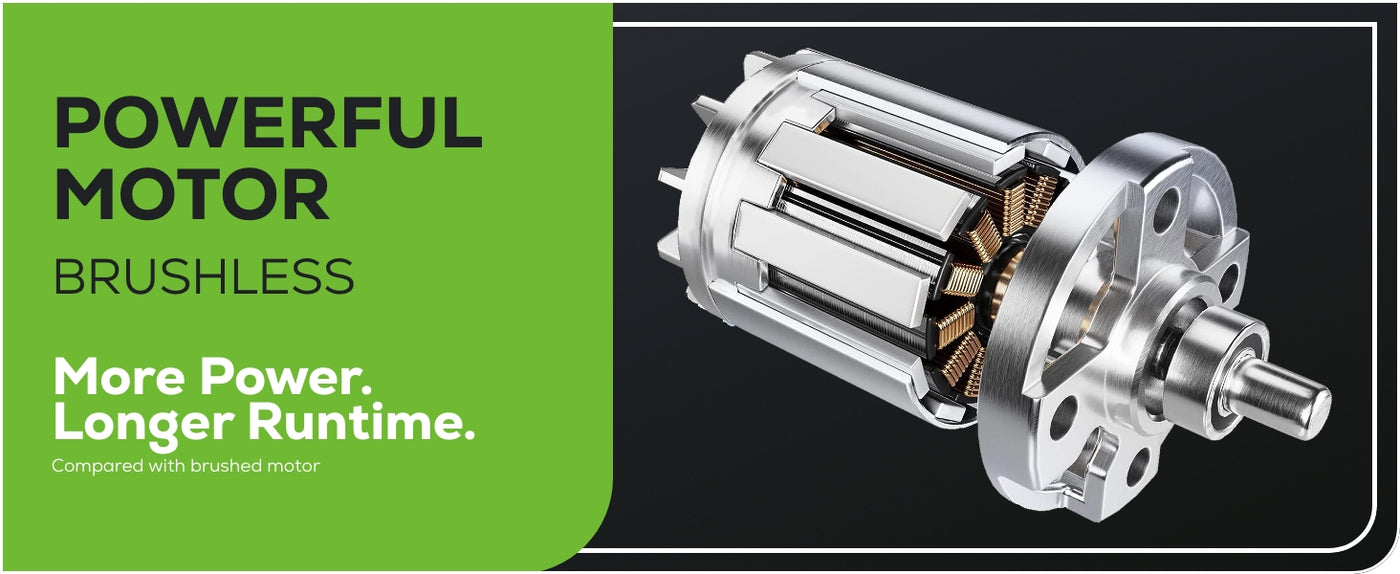
- ✓Moteur sans balais
- ✓Technologie SmartCut™ - La technologie de détection de charge SmartCut™ détecte automatiquement la charge et ajuste la puissance pour des performances et une efficacité maximales.
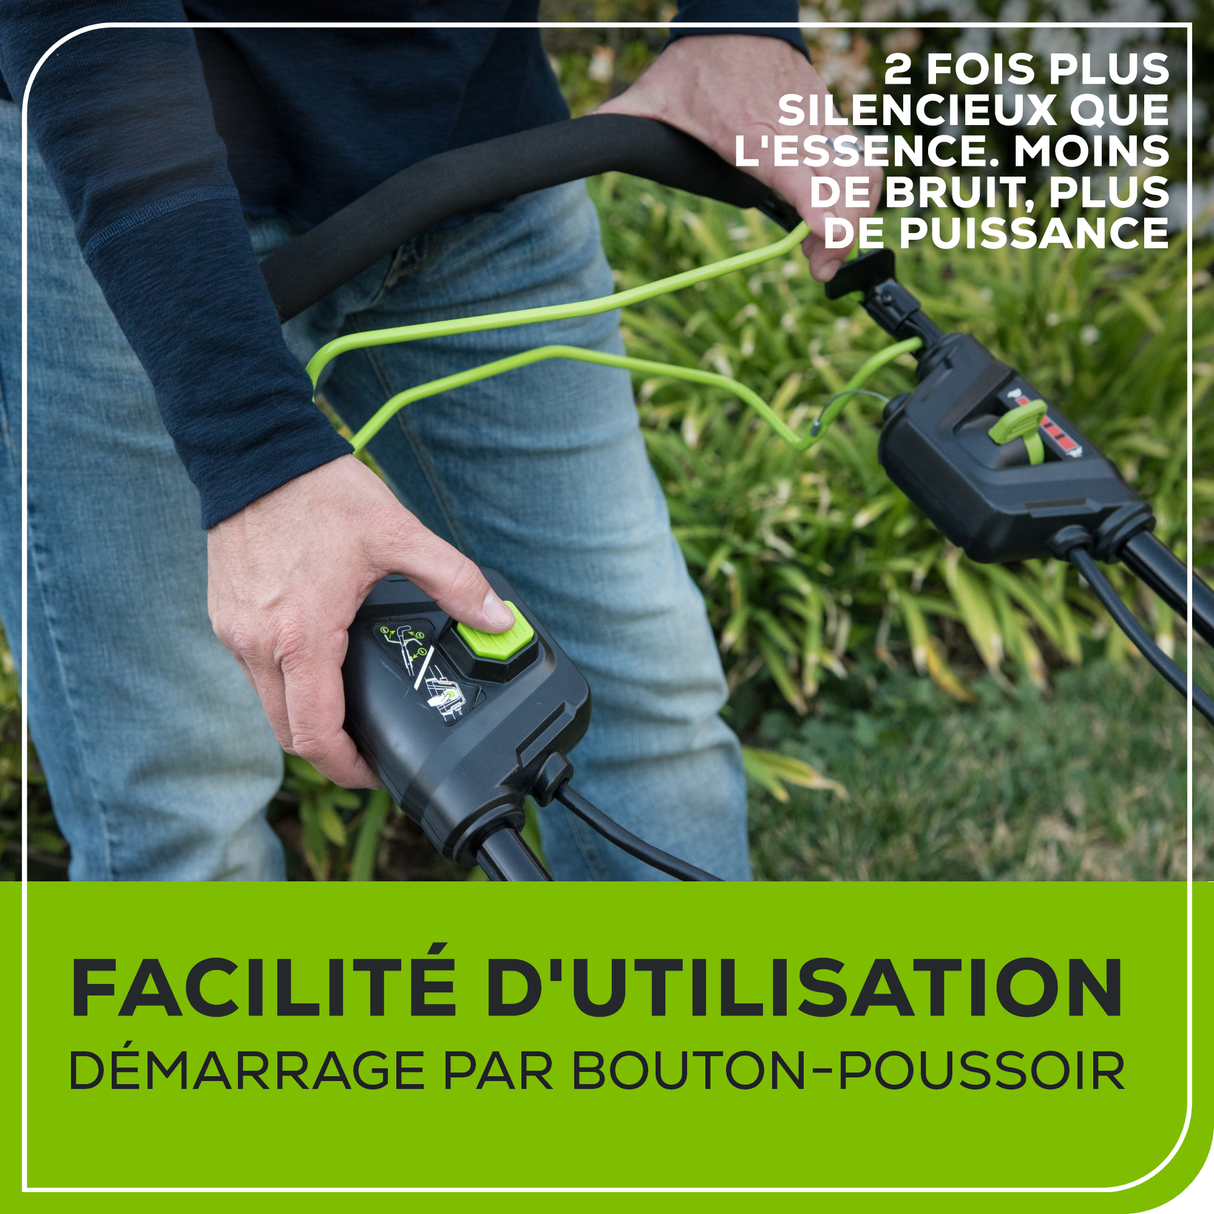
- ✓Démarrage par bouton-poussoir
- ✓Opération silencieuse
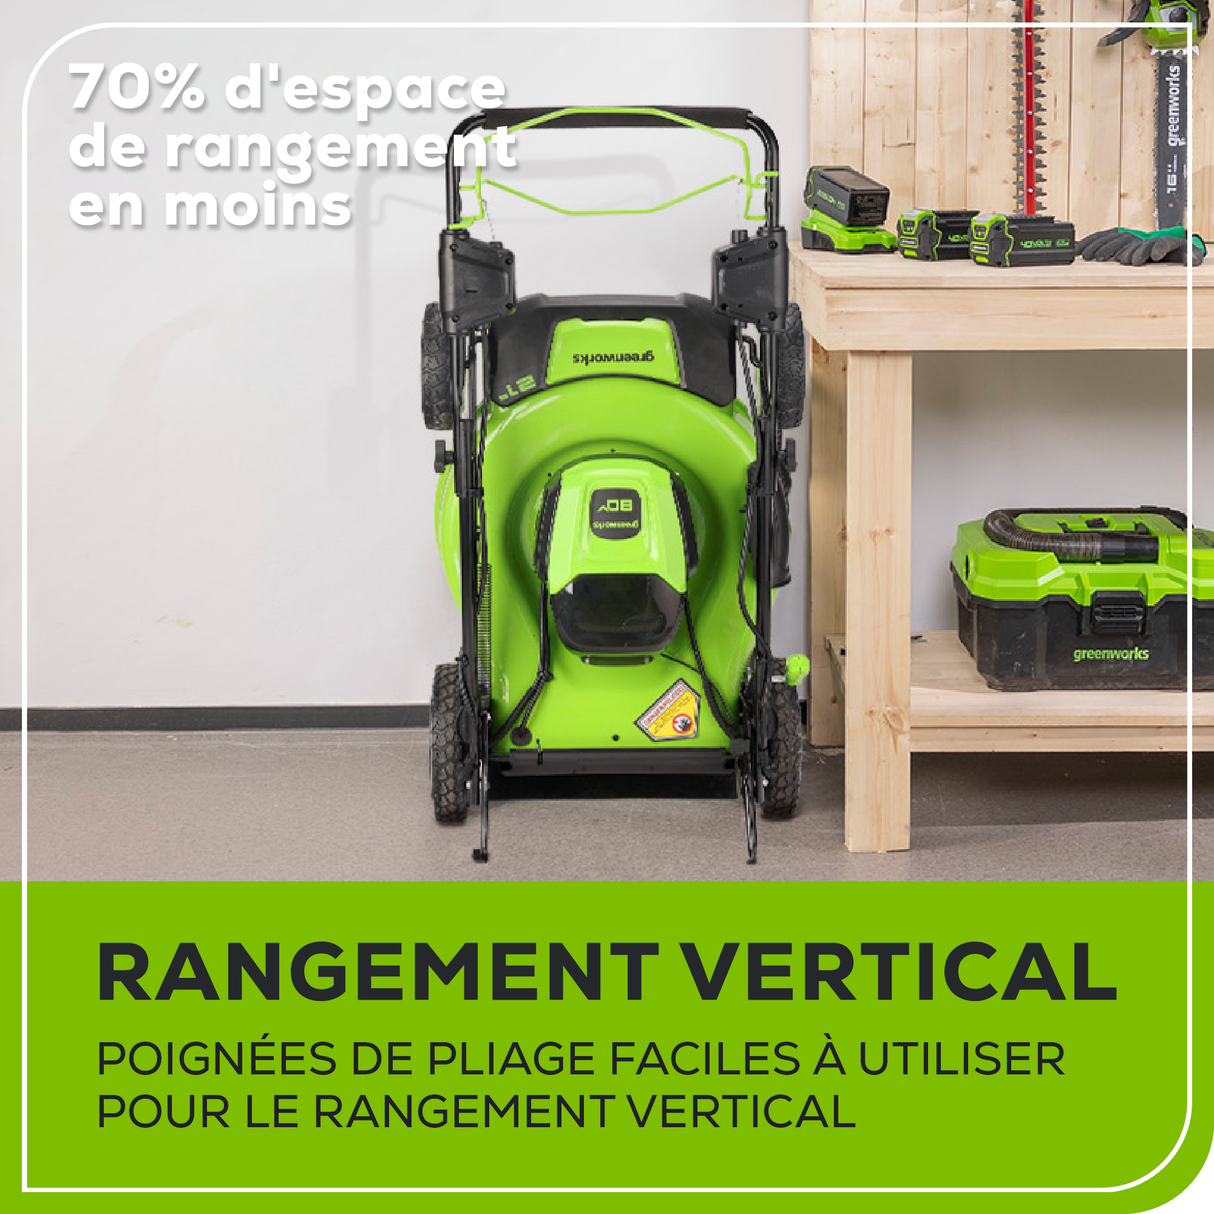
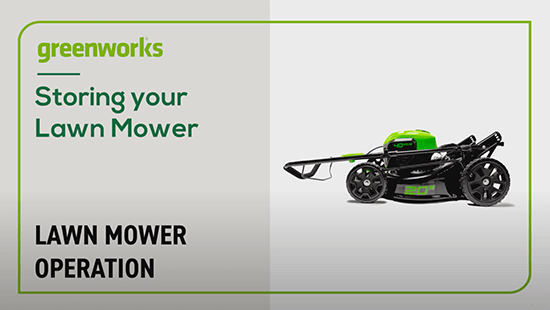
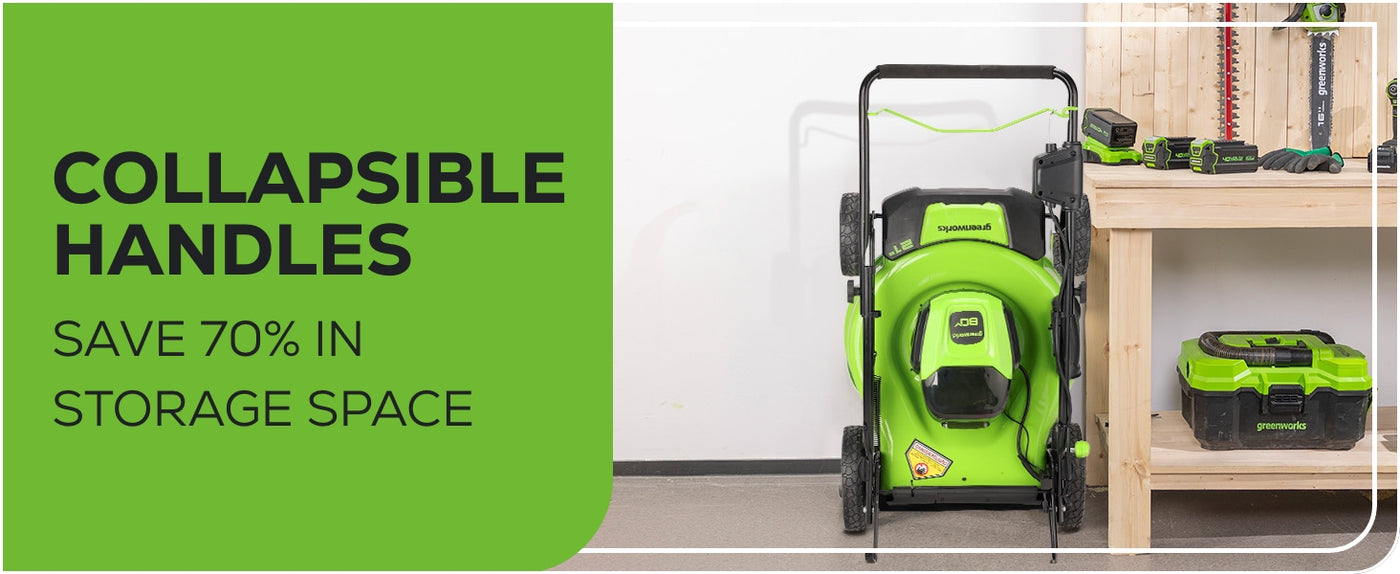
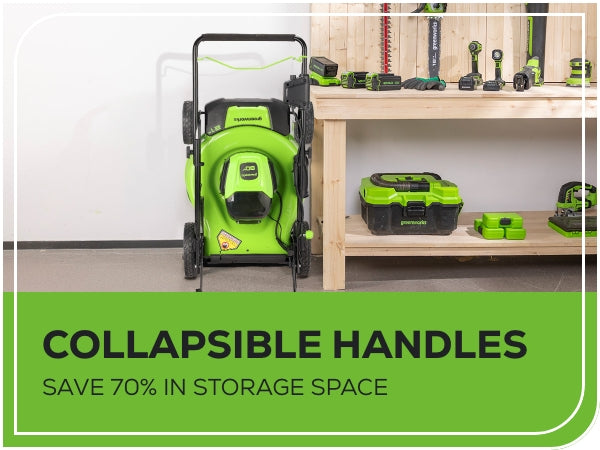
- ✓Rangement vertical - La poignée se replie facilement pour le transport et le rangement.
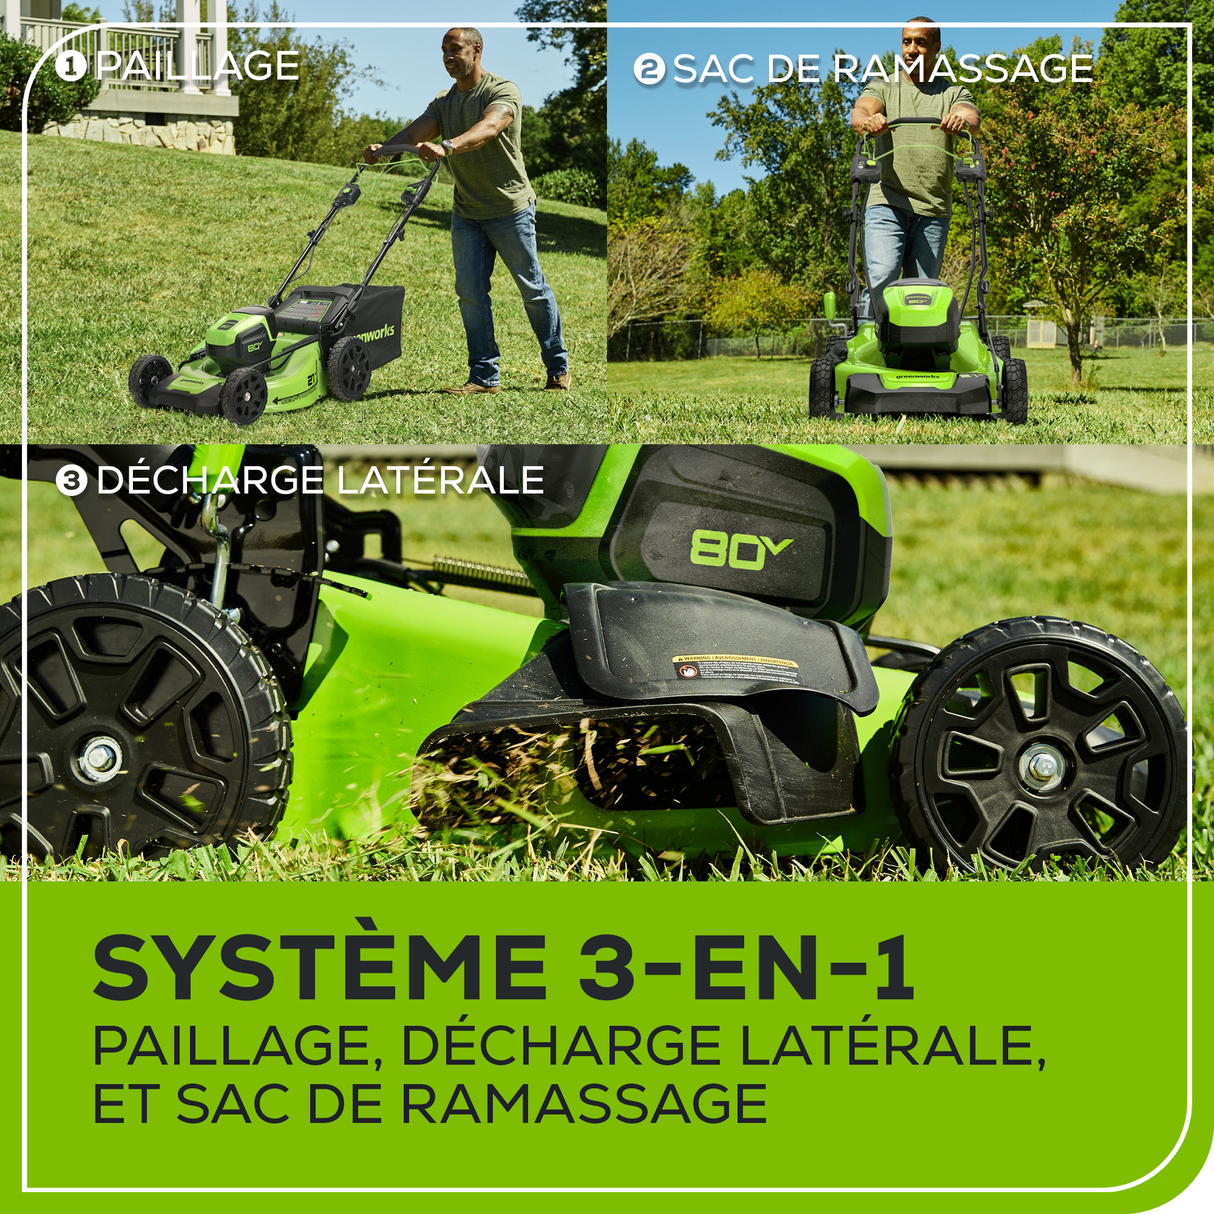
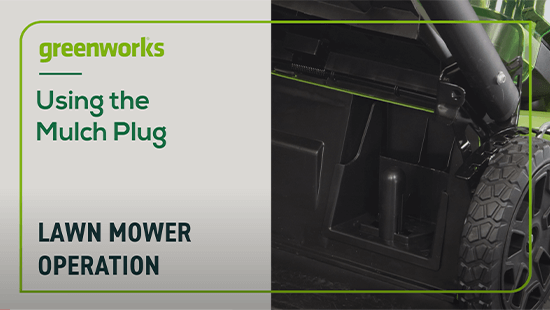
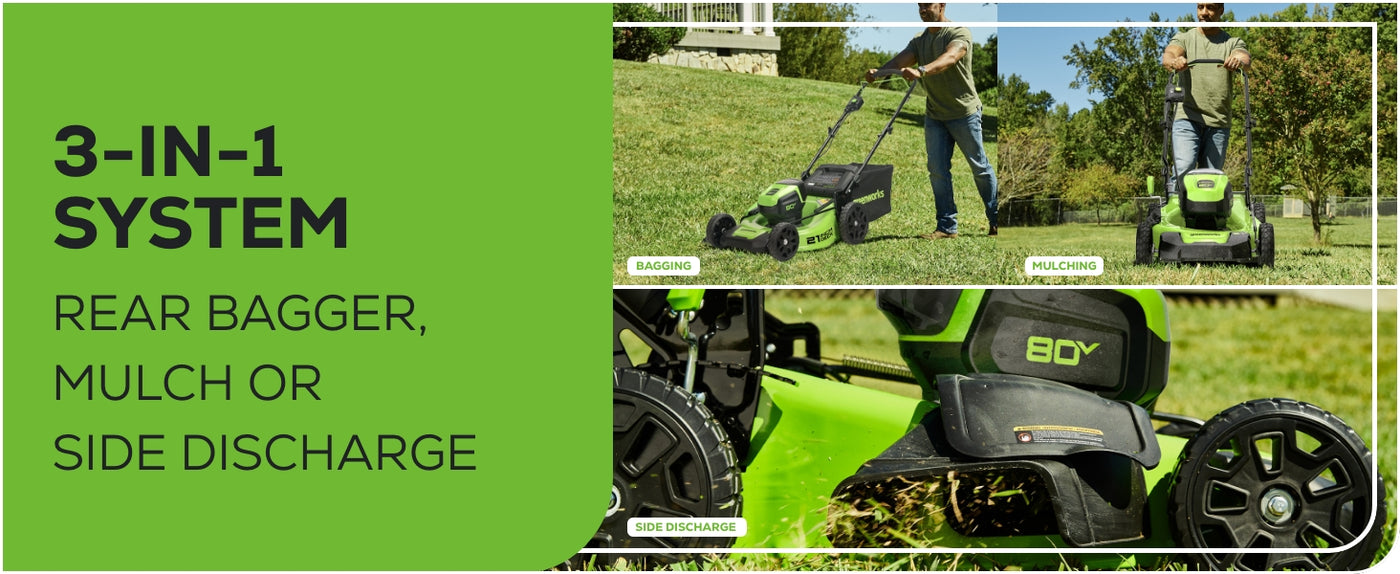
- ✓Déchiquetage
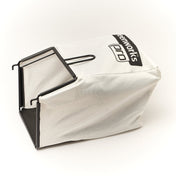
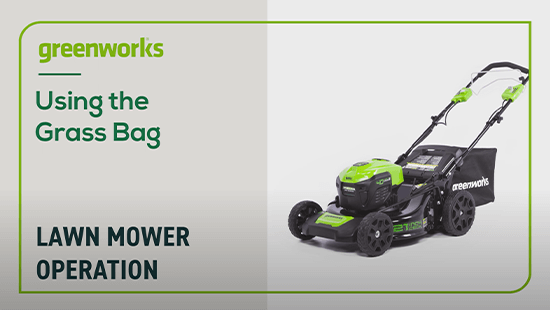
- ✓Sac ramasse-herbe arrière
- ✓Décharge latérale
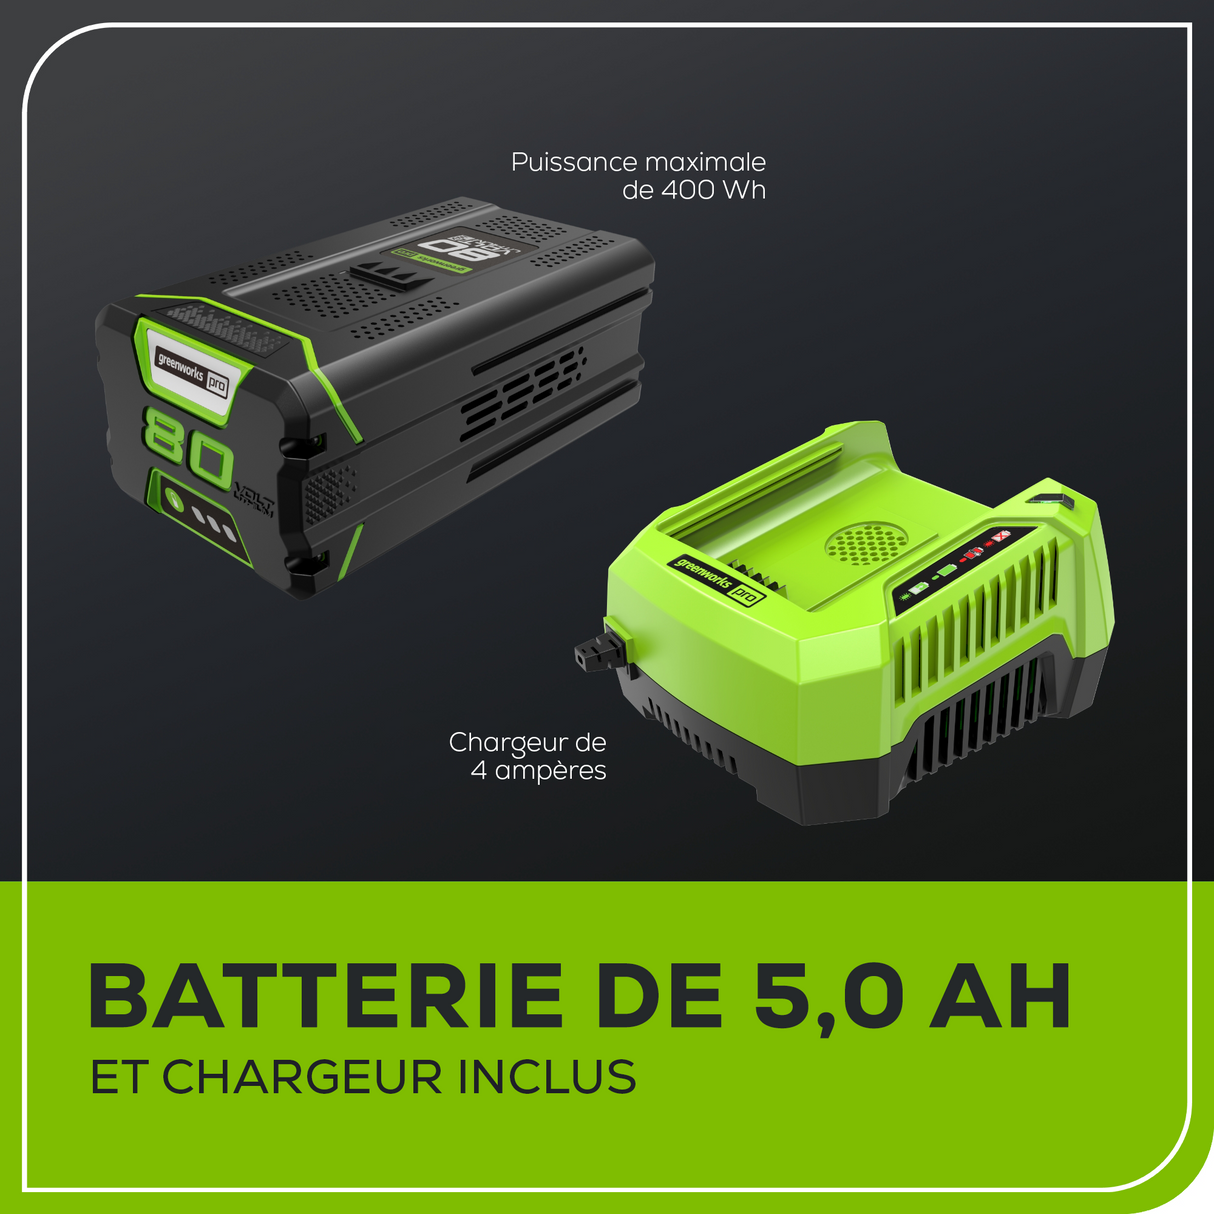
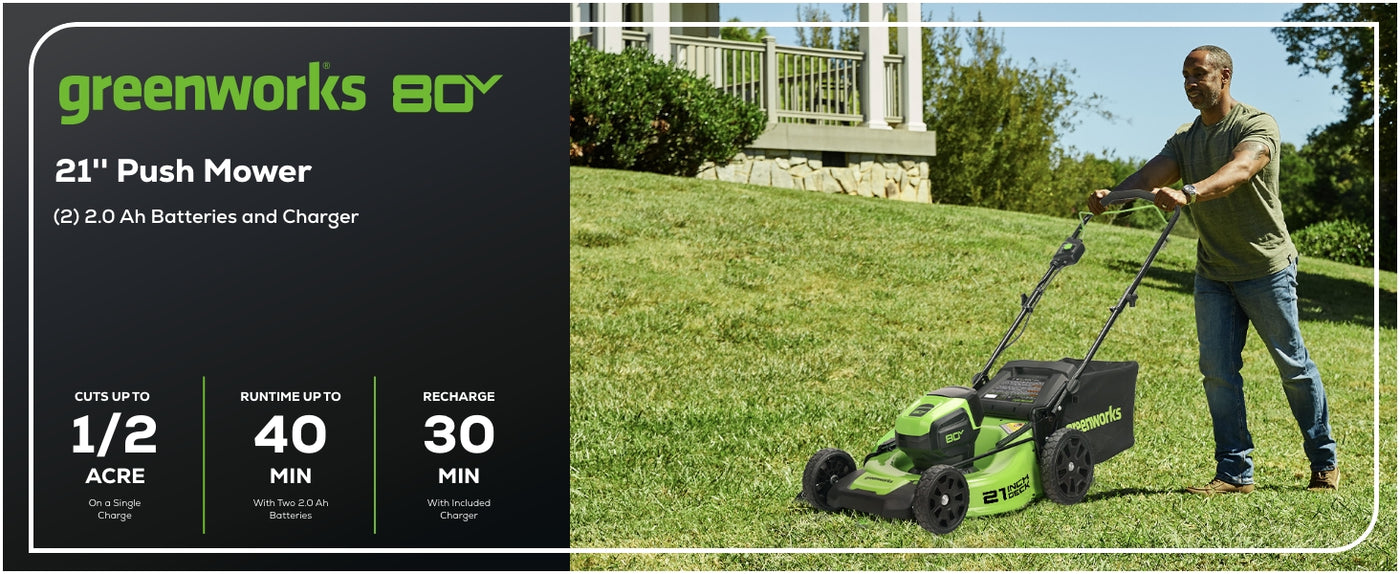
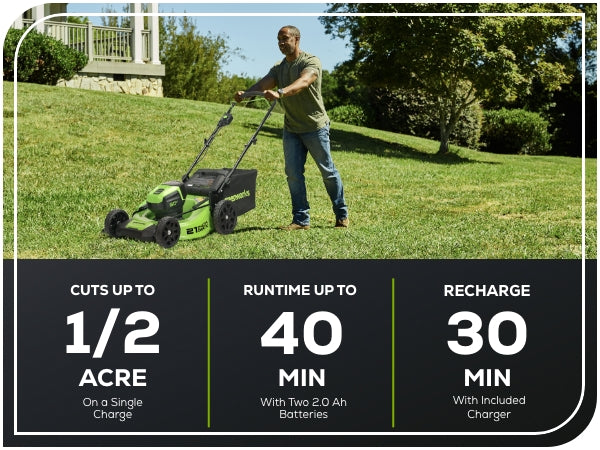
- ✓Doublez votre autonomie - Deux batteries incluses pour prolonger votre autonomie.
Garantie
Garantie

Compatible With :
Description
Description
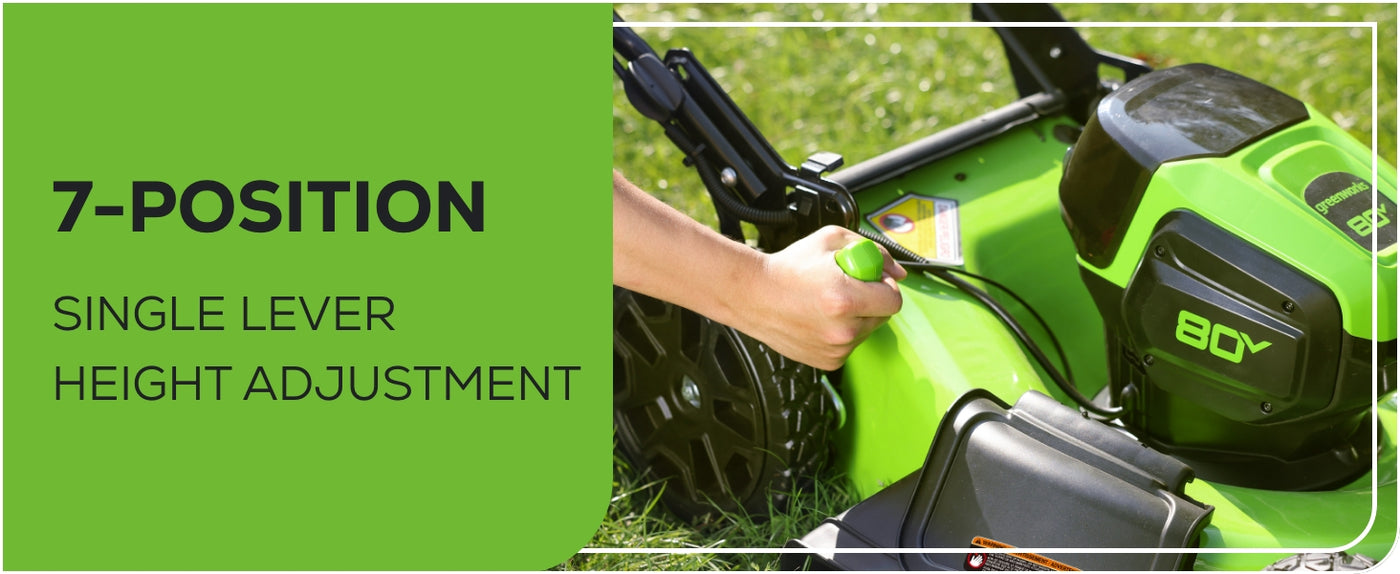
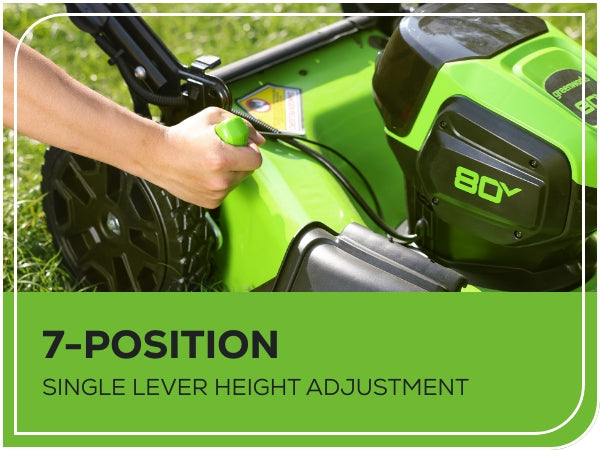
- DURABLE Le carter en acier durable de 21 pouces vous permet de travailler rapidement et facilement sur de grandes surfaces de gazon. Avec 7 options de hauteur de coupe différentes, vous pouvez garantir la meilleure coupe dans tous les environnements.
- POUSSÉE Travaillez à votre rythme et adoptez la simplicité avec notre tondeuse poussée légère et facile à utiliser.
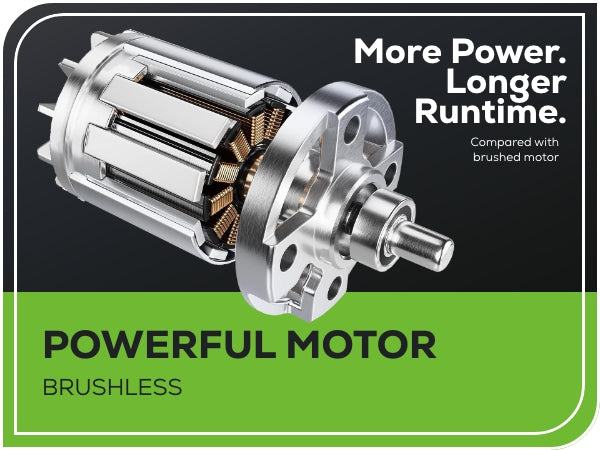
- PERFORMANCE Le moteur sans balais hautement efficace offre un couple accru, des durées de fonctionnement plus longues, un fonctionnement silencieux et une durée de vie prolongée du moteur. Équipé de la technologie innovante Smart Cut pour ajuster automatiquement la vitesse de la lame lorsque plus de puissance est nécessaire pour la meilleure coupe possible.
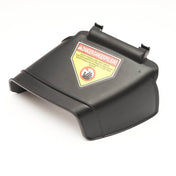
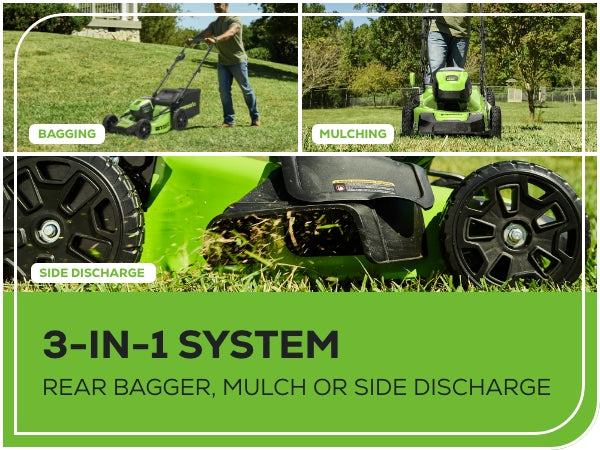
- CHOISISSEZ VOTRE FAÇON Le plateau de coupe 3 en 1 pratique vous permet de choisir votre finition de coupe entre le paillage, l'ensachage ou l'éjection latérale.
- NE JAMAIS ARRÊTER DE COUPER Port de batterie individuel pour accepter toutes vos batteries Greenworks 80 V. Jusqu'à 45 minutes d'autonomie avec les batteries incluses et un temps de charge de 30 minutes par batterie.
- RANGEMENT PRATIQUE Les positions réglables des poignées en fonction de votre taille et les commandes ergonomiques faciles à utiliser garantissent un confort ultime. De plus, utilisez jusqu'à 70 % d'espace en moins dans votre garage grâce aux poignées rabattables pour un rangement vertical compact.
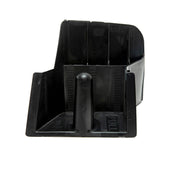
- COMPREND une tondeuse, deux batteries de 2,0 Ah, un chargeur rapide, un bouchon de déchiquetage, une goulotte d'éjection latérale, un sac ramasse-herbe et un manuel d'instructions.
- Les couleurs peuvent varier
Spécifications
Spécifications
-
Voltage80 V
-
Poids64,15 livres
-
Dimensions du produit assemblé22,1 po. × 61,5 po. × 37,8 po.
-
Dimensions de l'emballage34,45 po. x 23,62 po. x 17,52 po.
-
Poids du colis75,4 lb (34,2 kg)
-
Temps de charge pour (2) batteries de 2,0 Ah60 minutes au total (30 minutes par batterie)
-
Ampères-heures de la batterie2 x 2,0 Ah
-
Indicateur de batterieAffichage de charge sur la batterie
-
MoteurSans balais
-
Puissance nominale du moteur1,5 kW
-
Vitesse à vide3 200 tr/min
-
Taille du carter21 po.
-
Matériau du carterAcier ST16
-
Taille de la lame20 po.
-
Matériau de la lameacier SPCC
-
Taille du boulon de lameM10 35
-
Positions de hauteur du carter7
-
Plage de hauteur du carter1 3/8 - 3 3/4 po. (3,5 - 9,5 cm)
-
Fonction 3 en 1Déchiquetage, éjection latérale et sac arrière
-
Positions de la poignée3
-
Taille de la roue10 po. (25,4 cm)
-
Matériau des rouesPolypropylène/PVC
-
Niveau de bruit à 0 pied (utilisateur)95,4 dB
-
Niveau de bruit à 15 pieds (à proximité)84,9 dB
-
Niveau de bruit à 50 pieds (longue portée)61,83 dB
-
AutomoteurNon
-
Rangement verticalOui
-
Phares à DELNon
-
Indice d'étanchéité (IPX)IPX-4
-
Temps d'assemblage estimé≈ 15 minutes
-
Garantie4 ans de garantie
-
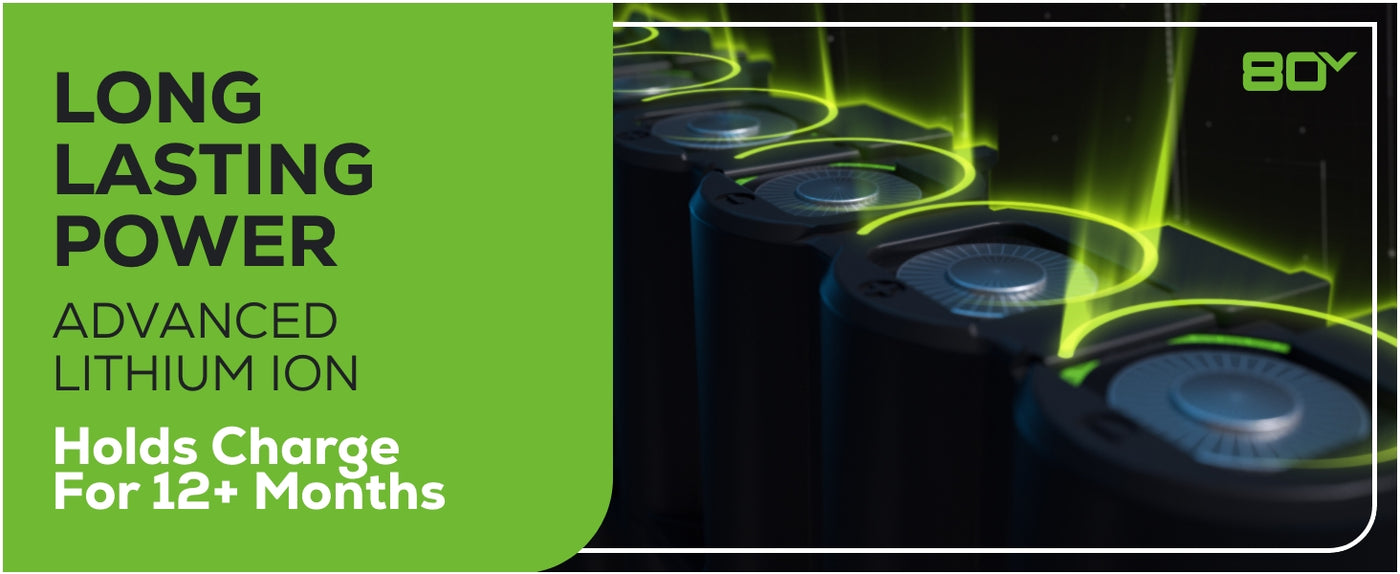
Spécifications de la batterie lithium-ion 80 V 2,0 Ah - GBA80200
-
Voltage80 V
-
Ampères-heures2 Ah
-
Poids3,48 livres
-
Taille3,5 po. × 5,7 po. × 7,7 po.
-
Wattheures144
-
Temps de charge à 100 %À partir de 30 minutes
-
Voyants de capacité de la batterieOui
-
Garantie4 ans de garantie
-
Spécifications du chargeur rapide 80 V à port unique 4 A – GCH8040
-
Voltage80 V
-
Poids3 livres
-
Taille7,7 po. × 9,3 po. × 5,1 po.
-
Temps de charge à 100 %À partir de 30 minutes
-
Sortie maximale4 A
-
Option de montage muralOui
-
Indicateur à DEL de diagnosticOui
-
Garantie4 ans de garantie
Manuels
Manuels
-
Télécharger :
-
Télécharger :
Vidéos de produits
Foire aux questions
Foire aux questions
- Puis-je utiliser ma tondeuse Greenworks sur des collines et des pentes ?
- Quel entretien est nécessaire pour ma tondeuse Greenworks ?
- Quand dois-je tondre mon gazon?
- Dois-je toujours utiliser ma fonction autotractée lorsque j'utilise une tondeuse autotractée ?
- Ma tondeuse Greenworks peut-elle couper les pommes de pin, les branches, les brindilles et autres débris de jardin qui se trouvent sur ma pelouse ?
- Puis-je utiliser ma tondeuse dans des conditions humides comme la pluie ?
- Que signifie SmartCut™ ?
- Ma tondeuse Greenworks nécessite-t-elle de l'essence ou de l'huile ?
- La batterie de ma tondeuse Greenworks est-elle interchangeable avec les autres appareils ?
- Comment démarrer ma tondeuse ?
- Puis-je laisser ma batterie dans le chargeur après l'avoir chargée ?
- Pourquoi les batteries coûtent-elles beaucoup plus cher que l’outil ?
- Comment dois-je entreposer la batterie ? Puis-je laisser la batterie dans le garage ou dans la cabane ?
- Ma batterie est coincée dans mon outil. Comment la retirer ?
- Comment vérifier la charge de ma batterie ?
- Puis-je utiliser n’importe quelle batterie Greenworks dans n’importe quel outil Greenworks ?
- Existe-t-il certains outils qui ne peuvent pas accepter toutes les batteries de même voltage ?
- Est-ce que toutes les batteries de même voltage utilisent le même chargeur ?
- La température de la batterie est-elle importante ?
- Le chargeur indique que ma batterie est complètement chargée, mais je viens de l'utiliser et elle est épuisée. Pourquoi ne se charge-t-elle pas ?
- Mon chargeur clignote en rouge lorsque j'active ma batterie. Pourquoi cela se produit-il ?
- Mon chargeur a un voyant rouge fixe allumé lorsque j'active ma batterie. Que se passe-t-il ?
- Vos chargeurs sont-ils conçus pour des prises 220 V ou 120 V ?
Les tondeuses autotractées ne doivent pas être utilisées sur des pentes supérieures à 15°. Il ne s'agit pas d'une limitation de l'appareil, mais plutôt d'une mesure visant à assurer une bonne stabilité de l'utilisateur. Lorsque vous tondez sur une pente, n'oubliez pas de tondre transversalement plutôt que de haut en bas.
Les tondeuses Greenworks nécessitent beaucoup moins d'entretien qu'une tondeuse à essence traditionnelle. Cependant, elles nécessitent toujours un entretien saisonnier de routine. Après chaque utilisation, nous vous conseillons de vider le sac (si un ensachage a été utilisé), puis de vérifier/nettoyer les débris sur la sortie latérale, la fente arrière, de nettoyer le dessous du carter avec un chiffon et d'essuyer l'appareil. Si des débris plus durs sont collés au dessous, vous pouvez utiliser un grattoir en caoutchouc pour le plateau. Assurez-vous de vérifier l'appareil pour voir s'il y a des écrous et des boulons desserrés après utilisation et de les fixer si nécessaire. N'exposez pas cet appareil à l'eau. Vérifiez que la lame n'est pas endommagée/émoussée et remplacez-la ou affûtez-la si nécessaire. Rangez l'appareil dans un endroit frais/couvert et sec comme un garage ou un hangar.
Voici quelques conseils de tonte qui peuvent être utiles : • Tondez lorsque l'herbe est sèche. Ne tondez pas plus d'un tiers de la longueur de l'herbe à la fois. • Tondez le matin ou en fin d'après-midi pour réduire le stress thermique sur l'herbe fraîchement coupée. • Alternez les schémas de tonte à chaque fois. Lorsque l'herbe développe un grain en fonction de la direction de la coupe, il penchera vers la direction de votre trajectoire de tonte. Le changement de schéma permet une meilleure croissance verticale et aide à garder une coupe plus nette. • Pensez au déchiquetage. Pour déchiqueter, retirez le sac et insérez le bouchon de déchiquetage à l'arrière de l'appareil. Cela laissera l'herbe coupée sur la pelouse, ce qui permettra aux nutriments et à l'azote qu'elle contient de retourner au sol et à l'herbe restante de les recycler (évacuez toujours les déchiquetages vers une zone précédemment coupée pour éviter que votre tondeuse ne s'enlise). • Laissez l'herbe un peu plus haute dans les zones ombragées. Cela les maintient en bonne santé dans des conditions relativement pauvres en nutriments. • Gardez toujours à l'esprit les conditions que votre variété de gazon préfère. Si votre gazon préfère les climats plus frais, réduisez la fréquence de tonte et augmentez la hauteur de coupe de votre tondeuse pendant les saisons chaudes pour compenser le taux de croissance réduit que ces variétés peuvent connaître dans ce type de temps.
Non, vous n'avez pas besoin d'activer la fonction autopropulsée pour faire fonctionner une tondeuse autotractée. Il y a deux moteurs distincts. Familiarisez-vous avec la fonction autotractée et la fonction de coupe de votre appareil (instructions à l'intérieur du manuel). Une fois que vous avez compris ces deux fonctions, vous pouvez activer la lame sans utiliser la fonction autotractée.
Les tondeuses Greenworks sont conçues pour l'herbe, les mauvaises herbes et le feuillage. Il n'est pas conseillé de compter sur la tondeuse pour déchiqueter d'autres types de débris. Avant d'utiliser la tondeuse, veuillez inspecter soigneusement la zone où la tondeuse doit être utilisée. Retirez toutes les pierres, bâtons, fils, jouets et autres objets sur lesquels la lame pourrait trébucher ou être projetée. Les objets projetés peuvent causer des blessures graves.
Pour des raisons de sécurité (que vous trouverez dans votre manuel d'instrctions sous les informations de sécurité), nous vous conseillons de ne pas utiliser la tondeuse dans des conditions humides, car une assise instable pourrait faire glisser l'opérateur, ce qui pourrait entraîner un danger potentiel. *Gamme X-RANGE 60 V dotée d'une construction résistante aux intempéries IPX4 et pouvant être utilisée en toute sécurité dans des conditions humides. Faites attention à votre position pendant l'utilisation dans des conditions potentiellement glissantes. *
La fonction SmartCut™, également considérée comme une fonction d'économie d'énergie, est conçue pour maximiser l'autonomie et la durée de vie de la batterie en détectant automatiquement la longueur de l'herbe et en ajustant sa puissance ou en augmentant l'accélération si nécessaire. Grâce à cette fonction, la vitesse de rotation des lames ne restera pas toujours la même. Elles tourneront automatiquement plus vite lorsque vous toucherez une herbe plus épaisse.
Non, le gaz et l'huile ne sont pas nécessaires au fonctionnement de nos appareils. Les tondeuses Greenworks fonctionnent soit sur batterie, soit avec fil (rallonge vendue séparément). Ces informations sont disponibles sur la page produit de chaque outil et dans le manuel d'instructions.
Greenworks propose une variété de lignes de voltage différentes pour une large gamme de besoins résidentiels individuels. Par exemple, nous proposons : 24 V, 40 V, 60 V et 80 V. Chaque ligne de voltage possède son propre ensemble d'outils et de batteries interchangeables, mais ils ne sont pas interchangeables sur différentes lignes de voltage. Pour voir les outils compatibles dans chaque ligne de voltage, sélectionnez « Par plateforme » sur sur la page d'accueil de notre site. Si vous n'êtes toujours pas sûr que votre appareil soit compatible, veuillez nous contacter au 1-888-909-6757 pour obtenir de l'aide. Nous serons heureux de vous aider
Pour les appareils avec fil, assurez-vous d'avoir la rallonge appropriée (consultez le manuel d'instructions) et l'alimentation de votre prise. Si vous utilisez un appareil à batterie, assurez-vous que la batterie est complètement chargée/adéquate. Assurez-vous de démarrer l'appareil dans l'ordre suivant, sinon il ne démarrera pas : 1. Appuyez sur le bouton de l'interrupteur de sécurité, tout en appuyant sur le bouton de l'interrupteur de sécurité d'une main, utilisez votre autre main pour tirer simultanément le levier de sécurité vers vous. 2. Une fois que la machine s'allume, vous pouvez relâcher le bouton de sécurité et continuer à tenir le levier. 3. L'appareil ne démarrera que lorsque le bouton de sécurité sera enfoncé en premier, suivi du levier de sécurité. Si c'est inversé, l'appareil ne s'allumera pas. Pour certains de nos appareils EZ Fold™, la séquence de démarrage n'affectera pas l'appareil. Utilisez les batteries appropriées en fonction de l'appareil et assurez-vous que les batteries sont suffisamment chargées, vous pouvez soit appuyer d'abord sur le bouton, soit relever la poignée. Ces modèles ne sont pas concernés par l'ordre de démarrage. Cependant, veuillez toujours vous référer au manuel du propriétaire pour vérifier le processus de démarrage, car cela constituerait la source d'informations la plus précise.
Les chargeurs de batterie sont dotés d'un dispositif d'arrêt automatique pour éviter toute surcharge. Cependant, nous conseillons aux clients de retirer la batterie du chargeur une fois qu'elle est complètement chargée et de débrancher également le chargeur de la prise, car il s'agit d'une bonne pratique de sécurité électrique. Cela permettra également d'éviter les fausses lectures de défauts et permettra au chargeur de se réinitialiser à chaque fois qu'il est utilisé pour charger une batterie.
La batterie est le composant le plus important d'un appareil à batterie. Soyez assuré que nous fixons le prix de nos batteries en tenant compte du coût des matériaux, de la fabrication et des prix actuels du marché. Les batteries sont les éléments les plus coûteux à fabriquer et à expédier dans n'importe quel ensemble. Les ensembles complets comprenant un outil, une batterie et un chargeur sont proposés à un prix abordable afin que les consommateurs puissent commencer à construire cette gamme d'outils et passer à l'achat d'appareils contenant uniquement des outils. Lorsque vous achetez des batteries seules, le coût qu'elles entraînent est plus important.
Lorsque la batterie n'est pas utilisée, nous vous suggérons de la entreposer à l'intérieur, dans un endroit frais et sec, à l'abri de la lumière directe du soleil. Laissez le chargeur débranché et la batterie déconnectée du chargeur, sauf si elle doit être rechargée. Il est recommandé d'entreposer la batterie complètement chargée et, si elle est entreposée pendant une période où aucune utilisation n'est prévue, de vérifier la charge tous les deux mois. Si vous remarquez que la charge a baissé, nous vous conseillons de recharger complètement la batterie avant de la remettre dans son lieu d'entreposage sûr. En suivant ces étapes, vous vous assurerez de tirer le meilleur parti de la durée de vie de la batterie.
Produits 60 V / 80 V : Pour retirer la batterie, appuyez sur le bouton de déverrouillage de la batterie et maintenez-le enfoncé. Ensuite, retirez la batterie en tirant dessus. Dans certains cas, si les ressorts situés en dessous se sont bloqués, vous devrez peut-être appuyer légèrement sur le haut de la batterie pour les réengager et aider la batterie à sortir. La batterie s'insère parfaitement dans le produit pour éviter tout délogement accidentel pendant l'utilisation ; il peut être nécessaire de tirer fort pour la retirer. Avant utilisation, assurez-vous que les rails de la batterie et du produit sont exempts de débris qui pourraient coincer la batterie. Produits 24 V/40 V : Pour retirer la batterie, appuyez sur le bouton de verrouillage de la batterie et maintenez-le enfoncé. Retirez la batterie de la poignée. La batterie s'insère parfaitement dans le produit pour éviter tout délogement accidentel pendant l'utilisation ; il peut être nécessaire de tirer fort pour la retirer. Avant utilisation, assurez-vous que les rails de la batterie et du produit sont exempts de débris qui pourraient coincer la batterie.
Appuyez sur le bouton indicateur de capacité de la batterie (BCI) situé à l'extrémité de la batterie. Les voyants s'allumeront en fonction du niveau de capacité de la batterie. Veuillez noter que cet interrupteur nécessite une pression directe et ferme du bout du doigt. Si le bouton n'est pas complètement enfoncé, les voyants ne s'allumeront pas. Veuillez également noter que les voyants ne restent allumés que quelques secondes et s'éteignent automatiquement. Une autre raison pour laquelle les voyants ne s'allument pas est que la batterie est complètement déchargée et doit être rechargée.
Nos batteries sont interchangeables uniquement avec des outils de la même plateforme de voltage. La différence entre les batteries de même voltage est la capacité en ampères-heures (Ah). Plus la capacité en ampères-heures (Ah) de la batterie est élevée, plus elle offre d'autonomie.
Il existe quelques exceptions. • Nos modèles de souffleuses à neige 80 V 20 po 2600402 / 2605202 / 2601302 fabriqués avant septembre 2017 ne peuvent utiliser que des modèles de batterie de 2,0 Ah ou 2,5 Ah. • Notre modèle de batterie 60 V 8,0 Ah 2957102 ne peut pas être utilisé dans les outils suivants en raison de la hauteur : tondeuses à double port, laveuses à pression ou aspirateur à déchets sec/humide.
Oui, c'est le cas. Chaque gamme de produits dispose de modèles de chargeurs spécifiques qui peuvent charger toutes les batteries de cette plateforme de voltage, quelle que soit leur capacité en Ah.
La température de la batterie avant utilisation ne doit pas être trop élevée ou trop basse. Pour les souffleuses à neige, si la batterie est trop froide, elle risque de ne pas fonctionner. Laissez la batterie atteindre la température ambiante avant utilisation. Pour nos autres outils, laissez la batterie refroidir avant utilisation si elle est trop élevée. Pour éviter les problèmes de température de la batterie, les batteries doivent être gardées à l'intérieur dans un endroit sec et frais. Les informations sur l'entreposage et la température de la batterie se trouvent dans votre manuel d'instructions.
Placer une batterie qui vient d'être utilisée sur le chargeur entraîne souvent un faux signal de charge complète. Retirez la batterie du chargeur et laissez-la reposer dans une zone à température ambiante pendant environ 10 à 15 minutes avant de la charger.
Lorsque la batterie est insérée dans le chargeur et que le voyant d'état clignote en rouge, retirez la batterie du chargeur pendant 1 minute, puis réinsérez-la. Si le voyant d'état clignote en vert, la batterie se charge correctement. Si le voyant d'état clignote toujours en rouge, retirez la batterie et débranchez le chargeur pendant 1 minute. Après 1 minute, branchez le chargeur et réinsérez la batterie. Si le voyant d'état clignote en vert, la batterie se charge correctement. Si le voyant d'état clignote toujours en rouge, cela indique probablement un problème avec la batterie ou le chargeur et doit être résolu soit par notre équipe de garantie, soit par remplacement.
Cela indique généralement que la batterie n'est pas à la bonne température pour être chargée. Laissez la batterie et le chargeur reposer à l'intérieur à température ambiante jusqu'à ce qu'ils ne soient plus chauds/froids et essayez de les charger à nouveau.
Les chargeurs Greenworks vendus aux États-Unis et au Canada sont conçus pour être utilisés uniquement sur des prises 120 V.

