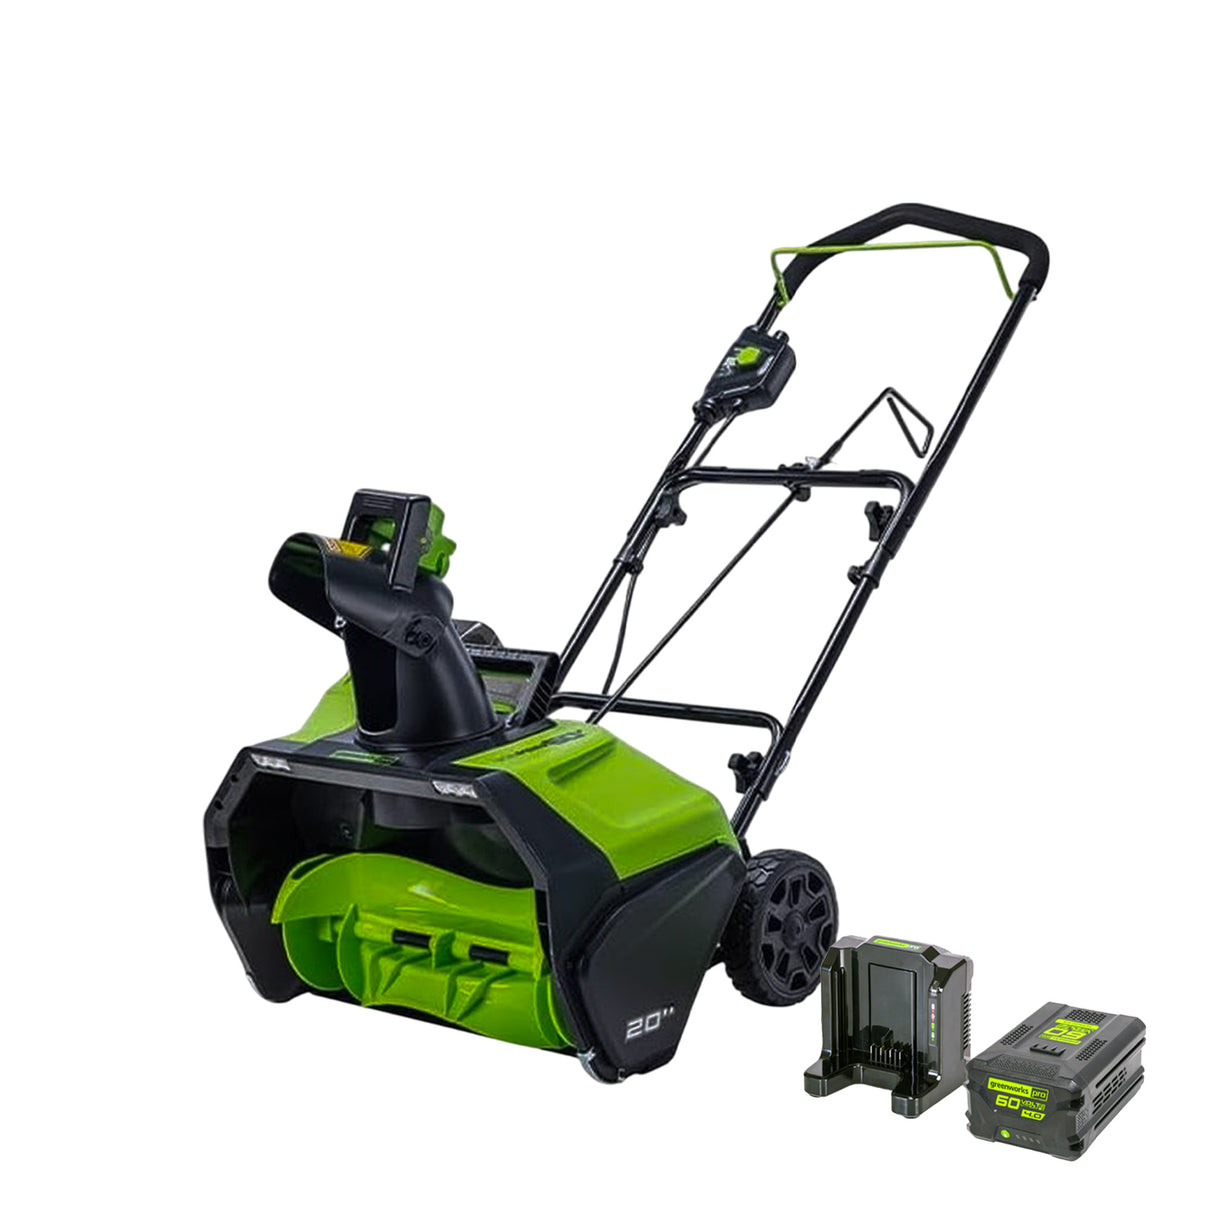
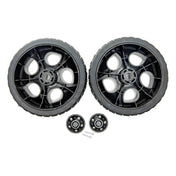
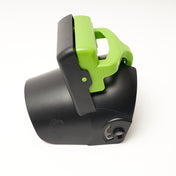
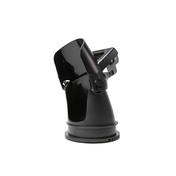
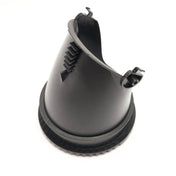
Souffleuse à neige 60 V, 20 pouces, batterie 4,0 Ah et chargeur inclus
Principales caractéristiques
Principales caractéristiques
- ✓Moteur sans balais
- ✓Opération silencieuse
- ✓Phares à DEL
- ✓Démarrage par bouton-poussoir
- ✓Goulotte directionnelle à 180°
- ✓Dégage une entrée de jusqu'à 2 à 4 voitures avec une seule charge
- ✓Batterie et chargeur inclus
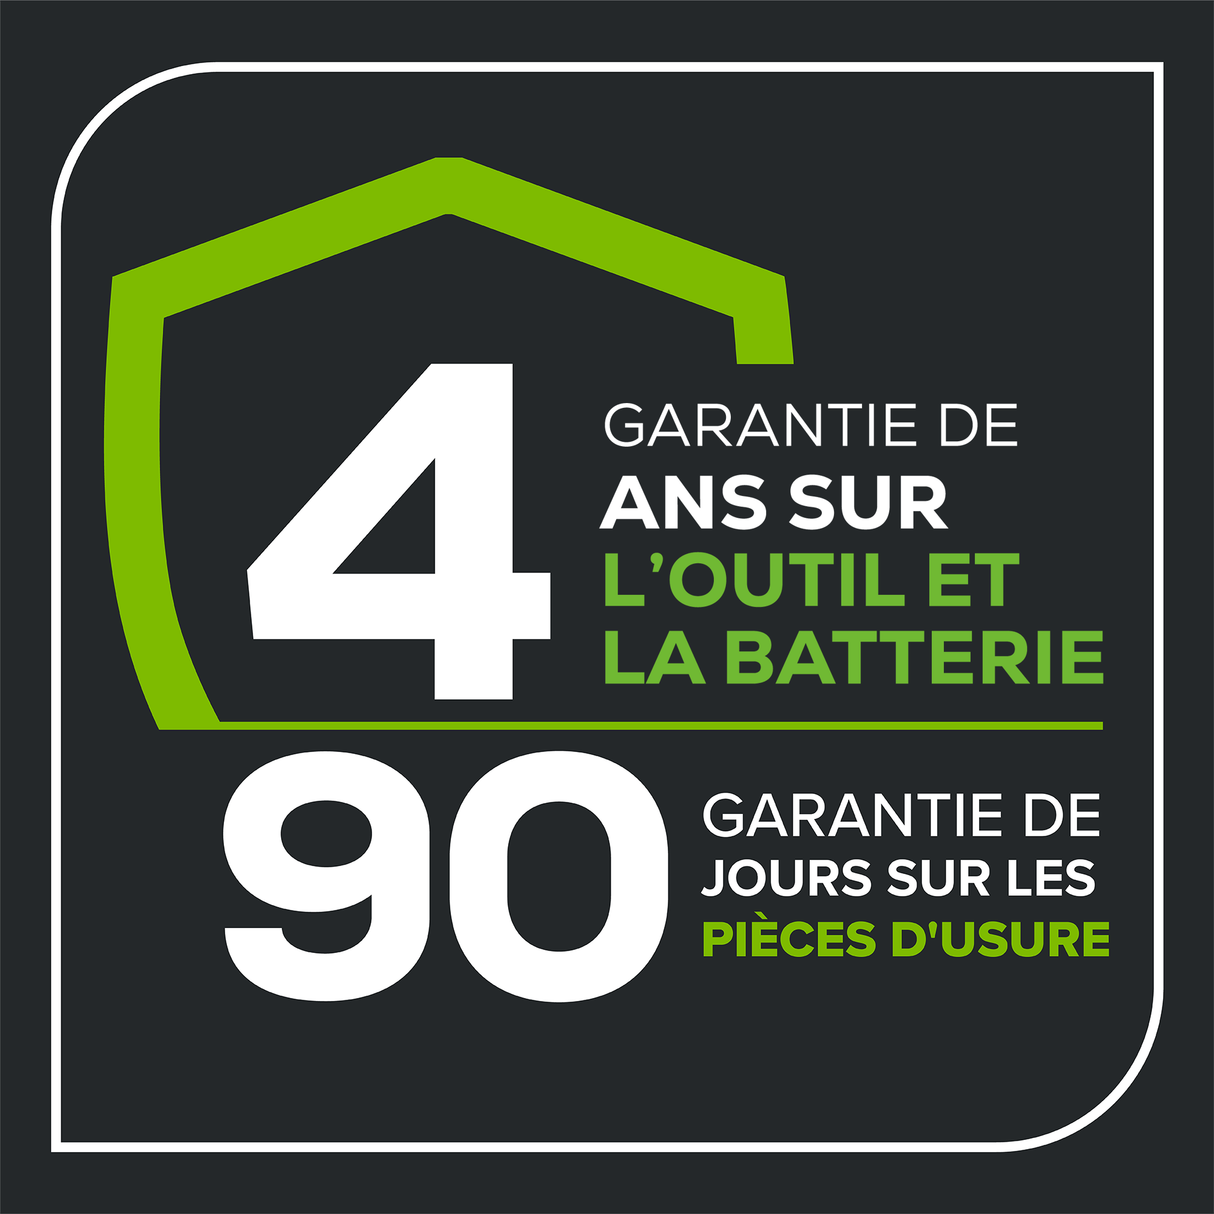
- ✓Garantie de 4 ans
Garantie
Garantie

Compatible With :
Description
Description
Bienvenue à La Vie. Propulsée. Par Greenworks. Idéale pour déneiger les trottoirs, les entrées et les patios, cette souffleuse à neige Greenworks Pro 60 V est l'outil à avoir lorsque il neige. Cette souffleuse à neige à un phase est alimentée par une batterie de 60 V qui offre un fonctionnement sans fil facile et pratique ; commencez par une trousse à outils, puis ajoutez uniquement de l'équipement avec outils. Cette souffleuse à neige est compatible avec toutes les batteries Greenworks 60 V. Grâce à la goulotte rotative à 180°, vous pouvez projeter la neige jusqu'à 20 pieds dans la direction souhaitée. Pour le dégagement de nuit, cette souffleuse est dotée de deux DEL pour augmenter la visibilité, et ses roues arrière de 7 pouces la rendent facile à manœuvrer. De plus, son système de pliage convivial facilite le rangement ou le transport. Équipez-vous cet hiver avec la souffleuse à neige Greenworks Pro 60V et passez moins de temps à pelleter la neige et plus de temps à profiter d'un feu chaleureux. Bénéficiant d'une garantie de 4 ans, cette souffleuse à neige est conçue pour une durabilité à long terme, garantissant qu'elle reste fiable pour les années à venir.
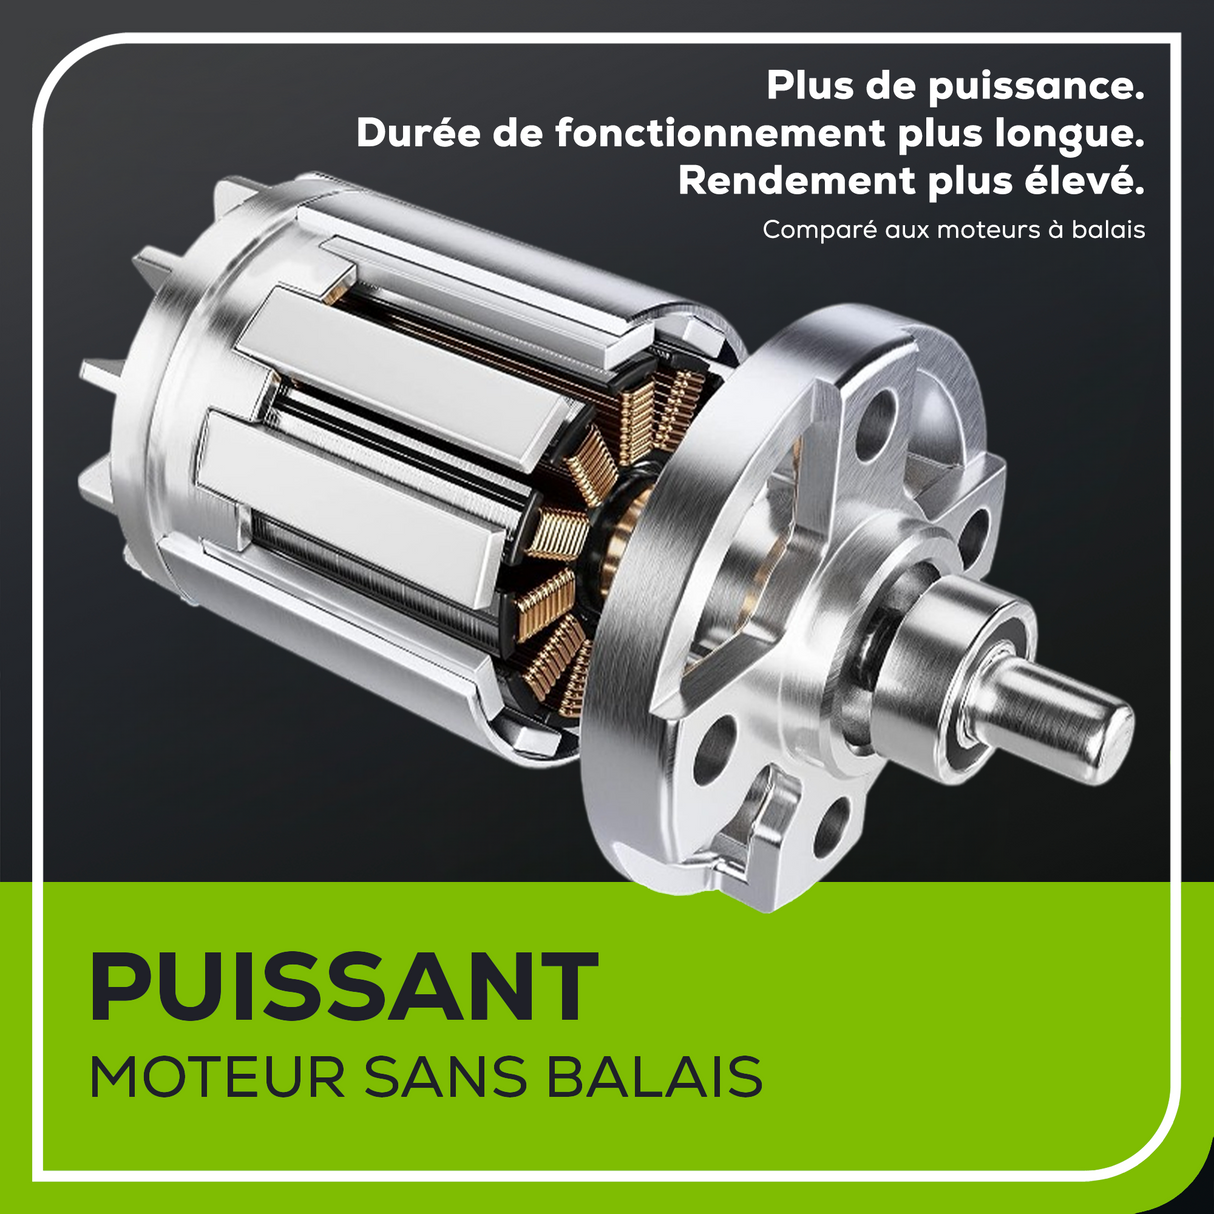
- SANS BALAIS : Le moteur sans balais de 2 kW à haut rendement offre un couple accru, des durées de fonctionnement plus longues, un fonctionnement silencieux et une durée de vie prolongée du moteur. Fournit une puissance à la demande jusqu'à 1800 tr/min. Dégage rapidement les allées, les trottoirs, les patios et plus encore avec un chemin de dégagement de 20 po. et une profondeur de dégagement de 10 po.
- GOULOTTE : La goulotte d'éjection pivote à 180° pour un contrôle directionnel et peut éjecter jusqu'à 22' de distance. Le déflecteur réglable à 45° permet de sélectionner facilement la distance de projection de neige.
- COMPACT : Conception compacte pour un rangement pratique lorsqu'il n'est pas utilisé. Parfait pour les zones à espace limité ! Les lumières DEL intégrées éclairent votre chemin dans des conditions de faible luminosité, vous permettant de travailler à l'aube ou au crépuscule sans déranger les voisins grâce au fonctionnement silencieux.
- TURBINE : L'impulseur en polyéthylène léger et antirouille assure une maniabilité et une longévité aisées.
- FONCTIONNEMENT PAR TEMPS FROID : Pour des performances optimales, utilisez des batteries entreposées à température ambiante (16°C à 23°C). Les appareils peuvent rencontrer des difficultés de fonctionnement lorsqu'ils sont entreposés en dehors de la plage de température recommandée. Si l'appareil ne démarre pas, laissez la batterie revenir à température ambiante et réessayez.
Spécifications
Spécifications
-
Voltage60 V
-
Poids32 livres
-
Taille21,5 po. × 41,5 po. × 35,5 po.
-
Chemin de dégagement20 po.
-
Taille des roues7 pouces
-
Profondeur de dégagement10 po.
-
Distance de décharge20 pieds
-
Nombre de lumières2
-
Positions de la poignée1
-
Dimensions de l'emballage21,8 po. x 22,2 po. x 21 po.
-
Poids du colis39 lb (17,6 kg)
-
Ampères-heures de la batterie1 x 4,0 Ah
-
Temps de charge pour (1) batterie de 4,0 AhJusqu'à 150 minutes
-
Indicateur de batterieAffichage de charge sur la batterie
-
MoteurSans balais
-
Puissance nominale du moteur2,0 kW
-
Puissance (HP)1,5 HP
-
Contrôle de la goulotteGoulotte de décharge réglable à 180°
-
Déflecteur de goulotteAjustez vers le haut/bas pour la distance de lancer
-
Zone de déneigement (neige de 4 po / neige de 10 po)Jusqu'à 2 421,87 pi² / 484,37 pi²
-
Turbine à vitesse variableNon
-
Matériau de la turbinePolyéthylène
-
Longueur de la turbine16 po.
-
Vitesse à vide1 800 tr/min
-
Niveau de bruit à 0' (utilisateur)73 dB
-
Pliable pour l'entreposageNon
-
Plaques de protection réglablesNon
-
Matériau des plaques de protectionMétal
-
Système de virage zéroNon
-
Coupe-dérivesNon
-
AutotractéeNon
-
Temps d'assemblage estimé≈ 10 minutes
-
Garantie4 ans de garantie
-
Spécifications de la batterie lithium-ion 60 V 4,0 Ah
-
Voltage60 V
-
Ampères-heures4,0 Ah
-
Poids4,4 livres
-
Taille3,5 po. × 5,7 po. × 7,7 po.
-
Wattheures240
-
Temps de charge à 100 %À partir de 120 minutes
-
Indicateur DEL de diagnosticOui
-
Garantie4 ans de garantie
-
Spécifications du chargeur plat 60 V - CAC801
-
Voltage60 V
-
Poids1,98 livres
-
Taille6,1 po. × 3,6 po. × 8,1 po.
-
Indicateur DEL de diagnosticOui
-
Temps de charge (batterie 2,0 Ah)40 min
-
Temps de charge (batterie 2,5 Ah)50 min
-
Temps de charge (batterie 4,0 Ah)80 min
-
Temps de charge (batterie 5,0 Ah)100 min
-
Garantie4 ans de garantie
Manuels
Manuels
Comprend
Comprend
- 60V 20" Snow Thrower
- 60V 4.0Ah Battery
- 60V Charger
- Owner's Manual
Vidéos de produits
Foire aux questions
Foire aux questions
- La température affecte-t-elle les performances de ma batterie ?
- Cet appareil peut-il être utilisé sur du gravier ?
- Quelle est la plage de température ambiante recommandée ?
- Quelle est la taille de l'entrée qui peut être dégagée avec ce produit ?
- À quel point les souffleuses à neige à phase unique Greenworks sont-elles difficiles à assembler ?
- Ma goulotte est obstruée par la neige, que dois-je faire?
- Jusqu'à quelle distance la souffleuse à neige peut-elle évacuer la neige ?
- Les plaques de protection sont-elles des pièces d’usure ?
- Quelle batterie est compatible avec cet outil ?
- Peut-elle être utilisés sur des pentes ou des collines ?
- Puis-je mettre des chaînes sur les pneus pour éviter de glisser ?
- Quels sont les avantages d’avoir une vitesse de turbine réglable ?
- Puis-je laisser ma batterie dans le chargeur après l'avoir chargée ?
- Pourquoi les batteries coûtent-elles beaucoup plus cher que l’outil ?
- Comment dois-je entreposer la batterie ? Puis-je laisser la batterie dans le garage ou dans la cabane ?
- Ma batterie est coincée dans mon outil. Comment la retirer ?
- Comment vérifier la charge de ma batterie ?
- Puis-je utiliser n’importe quelle batterie Greenworks dans n’importe quel outil Greenworks ?
- Existe-t-il certains outils qui ne peuvent pas accepter toutes les batteries de même voltage ?
- Est-ce que toutes les batteries de même voltage utilisent le même chargeur ?
- La température de la batterie est-elle importante ?
- Le chargeur indique que ma batterie est complètement chargée, mais je viens de l'utiliser et elle est épuisée. Pourquoi ne se charge-t-elle pas ?
- Mon chargeur clignote en rouge lorsque j'active ma batterie. Pourquoi cela se produit-il ?
- Mon chargeur a un voyant rouge fixe allumé lorsque j'active ma batterie. Que se passe-t-il ?
- Vos chargeurs sont-ils conçus pour des prises 220 V ou 120 V ?
Les batteries lithium-ion résistent aux basses températures. Cependant, nous recommandons toujours de charger et de ranger la batterie dans un environnement sûr, sec et à température ambiante. Une utilisation ou un entreposage à long terme par temps froid peut entraîner une baisse de la température interne de la batterie. Si la température interne de la batterie descend en dessous de -17 °C, la tension de sortie peut être réduite et la communication de la batterie peut être affectée. Cependant, si une batterie froide est ramenée dans un environnement sûr, sec et à température ambiante et qu'elle se réchauffe (cela ne devrait pas prendre plus de 10 à 20 minutes), il ne devrait y avoir aucun impact négatif à long terme sur les performances ou la durée de vie de la batterie. Veuillez noter que nous recommandons de placer la batterie sur le chargeur après qu'elle soit revenue à température ambiante pour assurer une charge maximale lors de l'utilisation.
Nous ne recommandons pas d'utiliser nos souffleuses à neige à phase unique ou nos pelles à neige sur des surfaces en gravier. Le gravier, les pierres ou tout autre matériau de surface meuble seront ramassés et projetés par la souffleuse à neige, causant des dommages à l'appareil et potentiellement aux biens et aux personnes à proximité.
Les souffleuses à neige peuvent être entreposées à n'importe quelle température si l'environnement est abrité (à l'intérieur) et sec. Les batteries et les chargeurs doivent toujours être entreposés à l'intérieur à température ambiante.
Nos ensembles de souffleuses à neige à phase unique sont souvent fournis avec une capacité de batterie suffisante pour couvrir une entrée moyenne de 4 voitures. Il est important de noter que l'autonomie globale obtenue est finalement déterminée par la charge agissant contre l'appareil et fluctuera.
Nos appareils ont été conçus pour un montage rapide et facile ! La majorité des appareils à phase unique peuvent être assemblées dans environ 15 minutes. Toutes les instructions sont clairement détaillées dans le manuel d'instructions fourni avec l'appareil. Si vous avez des questions ou des préoccupations, nous serons heureux de vous aider.
La neige lourde ou glacée peut obstruer la goulotte d'éjection pendant l'utilisation. Si vous rencontrez un blocage, N'ESSAYEZ PAS de le déboucher avec vos mains ou vos pieds. Éteignez plutôt votre machine et attendez au moins 10 secondes qu'elle s'arrête complètement. Utilisez ensuite une brosse de débouchage de goulotte ou un objet similaire pour déboucher le bouchon (non fourni). Conseil d'utilisation : Si vous remarquez que la goulotte se bouche souvent, essayez de régler l'angle de la goulotte et la vitesse de la turbine (le cas échéant).
La distance de projection de la neige varie en fonction du type de neige, du vent et de l'angle du déflecteur de la goulotte. La neige légère aura une plus grande distance de projection que la neige mouillée/lourde.
Oui. Les plaques de protection Greenworks sont des pièces à us; les pièces d’usure normale bénéficient d'une garantie de 90 jours contre l'usure.
Seules les batteries, chargeurs et machines Greenworks de même voltage sont compatibles et interchangeables entre elles. Veuillez noter que plus la capacité en ampères-heures (Ah) d'une batterie est élevée, plus elle peut offrir d'autonomie.
Oui, cet appareil peut être utilisé sur des pentes et/ou des collines. Soyez toujours extrêmement prudent lorsque vous travaillez sur des pentes et assurez-vous d'avoir une bonne assise et un bon équilibre à tout moment.
Non, les roues de nos modèles de souffleuses à neige à phase unique ne sont pas conçues pour être utilisées avec des chaînes à pneus.
L'avantage d'avoir une vitesse de turbine réglable garantit que l'appareil peut être utilisé dans une variété de zones et de conditions. Une vitesse de tarière plus faible se traduit généralement par une distance de projection plus petite - une vitesse faible donne également à l'utilisateur plus de contrôle afin que vous puissiez diriger la neige où vous le souhaitez et éviter de dépasser ou de recouvrir les zones précédemment dégagées. Lorsque vous utilisez l'appareil à une vitesse plus élevée, vous pouvez projeter la neige plus loin lorsque l'espace le permet et dégager la zone plus rapidement. Conseil d'utilisation : si vous remarquez que la goulotte se bouche souvent, essayez d'accélérer la tarière.
Les chargeurs de batterie sont dotés d'un dispositif d'arrêt automatique pour éviter toute surcharge. Cependant, nous conseillons aux clients de retirer la batterie du chargeur une fois qu'elle est complètement chargée et de débrancher également le chargeur de la prise, car il s'agit d'une bonne pratique de sécurité électrique. Cela permettra également d'éviter les fausses lectures de défauts et permettra au chargeur de se réinitialiser à chaque fois qu'il est utilisé pour charger une batterie.
La batterie est le composant le plus important d'un appareil à batterie. Soyez assuré que nous fixons le prix de nos batteries en tenant compte du coût des matériaux, de la fabrication et des prix actuels du marché. Les batteries sont les éléments les plus coûteux à fabriquer et à expédier dans n'importe quel ensemble. Les ensembles complets comprenant un outil, une batterie et un chargeur sont proposés à un prix abordable afin que les consommateurs puissent commencer à construire cette gamme d'outils et passer à l'achat d'appareils contenant uniquement des outils. Lorsque vous achetez des batteries seules, le coût qu'elles entraînent est plus important.
Lorsque la batterie n'est pas utilisée, nous vous suggérons de la entreposer à l'intérieur, dans un endroit frais et sec, à l'abri de la lumière directe du soleil. Laissez le chargeur débranché et la batterie déconnectée du chargeur, sauf si elle doit être rechargée. Il est recommandé d'entreposer la batterie complètement chargée et, si elle est entreposée pendant une période où aucune utilisation n'est prévue, de vérifier la charge tous les deux mois. Si vous remarquez que la charge a baissé, nous vous conseillons de recharger complètement la batterie avant de la remettre dans son lieu d'entreposage sûr. En suivant ces étapes, vous vous assurerez de tirer le meilleur parti de la durée de vie de la batterie.
Produits 60 V / 80 V : Pour retirer la batterie, appuyez sur le bouton de déverrouillage de la batterie et maintenez-le enfoncé. Ensuite, retirez la batterie en tirant dessus. Dans certains cas, si les ressorts situés en dessous se sont bloqués, vous devrez peut-être appuyer légèrement sur le haut de la batterie pour les réengager et aider la batterie à sortir. La batterie s'insère parfaitement dans le produit pour éviter tout délogement accidentel pendant l'utilisation ; il peut être nécessaire de tirer fort pour la retirer. Avant utilisation, assurez-vous que les rails de la batterie et du produit sont exempts de débris qui pourraient coincer la batterie. Produits 24 V/40 V : Pour retirer la batterie, appuyez sur le bouton de verrouillage de la batterie et maintenez-le enfoncé. Retirez la batterie de la poignée. La batterie s'insère parfaitement dans le produit pour éviter tout délogement accidentel pendant l'utilisation ; il peut être nécessaire de tirer fort pour la retirer. Avant utilisation, assurez-vous que les rails de la batterie et du produit sont exempts de débris qui pourraient coincer la batterie.
Appuyez sur le bouton indicateur de capacité de la batterie (BCI) situé à l'extrémité de la batterie. Les voyants s'allumeront en fonction du niveau de capacité de la batterie. Veuillez noter que cet interrupteur nécessite une pression directe et ferme du bout du doigt. Si le bouton n'est pas complètement enfoncé, les voyants ne s'allumeront pas. Veuillez également noter que les voyants ne restent allumés que quelques secondes et s'éteignent automatiquement. Une autre raison pour laquelle les voyants ne s'allument pas est que la batterie est complètement déchargée et doit être rechargée.
Nos batteries sont interchangeables uniquement avec des outils de la même plateforme de voltage. La différence entre les batteries de même voltage est la capacité en ampères-heures (Ah). Plus la capacité en ampères-heures (Ah) de la batterie est élevée, plus elle offre d'autonomie.
Il existe quelques exceptions. • Nos modèles de souffleuses à neige 80 V 20 po 2600402 / 2605202 / 2601302 fabriqués avant septembre 2017 ne peuvent utiliser que des modèles de batterie de 2,0 Ah ou 2,5 Ah. • Notre modèle de batterie 60 V 8,0 Ah 2957102 ne peut pas être utilisé dans les outils suivants en raison de la hauteur : tondeuses à double port, laveuses à pression ou aspirateur à déchets sec/humide.
Oui, c'est le cas. Chaque gamme de produits dispose de modèles de chargeurs spécifiques qui peuvent charger toutes les batteries de cette plateforme de voltage, quelle que soit leur capacité en Ah.
La température de la batterie avant utilisation ne doit pas être trop élevée ou trop basse. Pour les souffleuses à neige, si la batterie est trop froide, elle risque de ne pas fonctionner. Laissez la batterie atteindre la température ambiante avant utilisation. Pour nos autres outils, laissez la batterie refroidir avant utilisation si elle est trop élevée. Pour éviter les problèmes de température de la batterie, les batteries doivent être gardées à l'intérieur dans un endroit sec et frais. Les informations sur l'entreposage et la température de la batterie se trouvent dans votre manuel d'instructions.
Placer une batterie qui vient d'être utilisée sur le chargeur entraîne souvent un faux signal de charge complète. Retirez la batterie du chargeur et laissez-la reposer dans une zone à température ambiante pendant environ 10 à 15 minutes avant de la charger.
Lorsque la batterie est insérée dans le chargeur et que le voyant d'état clignote en rouge, retirez la batterie du chargeur pendant 1 minute, puis réinsérez-la. Si le voyant d'état clignote en vert, la batterie se charge correctement. Si le voyant d'état clignote toujours en rouge, retirez la batterie et débranchez le chargeur pendant 1 minute. Après 1 minute, branchez le chargeur et réinsérez la batterie. Si le voyant d'état clignote en vert, la batterie se charge correctement. Si le voyant d'état clignote toujours en rouge, cela indique probablement un problème avec la batterie ou le chargeur et doit être résolu soit par notre équipe de garantie, soit par remplacement.
Cela indique généralement que la batterie n'est pas à la bonne température pour être chargée. Laissez la batterie et le chargeur reposer à l'intérieur à température ambiante jusqu'à ce qu'ils ne soient plus chauds/froids et essayez de les charger à nouveau.
Les chargeurs Greenworks vendus aux États-Unis et au Canada sont conçus pour être utilisés uniquement sur des prises 120 V.

